

Mastering Fraction Addition: A Step-by-Step Guide to Simplest Form
Fractions, those seemingly simple yet sometimes perplexing numbers, are a fundamental part of mathematics. From everyday tasks like splitting a pizza to more complex calculations in engineering and finance, understanding fractions is crucial. One of the most essential operations with fractions is addition, and knowing how to add fractions and express the result in its simplest form is a skill that will serve you well throughout your academic and professional life.
This comprehensive guide will walk you through the process of adding fractions, focusing on how to simplify the result to its most basic and understandable form. Whether you’re a student grappling with homework or simply looking to refresh your math skills, this article will provide you with the knowledge and tools you need to confidently add fractions and simplify them like a pro.
Why Simplest Form Matters
Before diving into the how-to, let’s understand why expressing fractions in their simplest form is so important. A fraction is in its simplest form when the numerator (the top number) and the denominator (the bottom number) have no common factors other than 1. This means that the fraction cannot be reduced any further. Simplifying fractions makes them easier to understand, compare, and work with in subsequent calculations. It’s like speaking clearly and concisely – it avoids confusion and ensures everyone is on the same page.
Imagine you’re sharing a cake with friends. If you say you’re giving someone 4/8 of the cake, it’s the same as saying you’re giving them 1/2. But 1/2 is much clearer and easier to grasp at a glance. Simplest form is all about clarity and efficiency.
Adding Fractions: The Basics
The process of adding fractions depends on whether the fractions have the same denominator (common denominator) or different denominators (uncommon denominators). Let’s explore both scenarios.
Adding Fractions with Common Denominators
When fractions share the same denominator, the addition process is straightforward:
- Keep the Denominator: The denominator of the resulting fraction will be the same as the common denominator of the fractions you are adding.
- Add the Numerators: Simply add the numerators of the fractions.
- Simplify (if necessary): Check if the resulting fraction can be simplified to its simplest form.
Example: Add 2/5 and 1/5.
Since both fractions have a common denominator of 5, we can proceed directly.
2/5 + 1/5 = (2 + 1)/5 = 3/5
The resulting fraction, 3/5, is already in its simplest form because 3 and 5 have no common factors other than 1.
Adding Fractions with Uncommon Denominators
When fractions have different denominators, you need to find a common denominator before you can add them. The most common method is to find the least common multiple (LCM) of the denominators. The LCM will be the new common denominator.
- Find the Least Common Multiple (LCM): Determine the LCM of the denominators. This is the smallest number that is a multiple of both denominators.
- Convert the Fractions: Convert each fraction to an equivalent fraction with the LCM as the new denominator. To do this, divide the LCM by the original denominator and then multiply both the numerator and denominator of the original fraction by the result.
- Add the Fractions: Now that the fractions have a common denominator, add the numerators as described above.
- Simplify (if necessary): Simplify the resulting fraction to its simplest form.
Example: Add 1/3 and 1/4.
- Find the LCM: The LCM of 3 and 4 is 12.
- Convert the Fractions:
- For 1/3: 12 ÷ 3 = 4. So, 1/3 = (1 x 4)/(3 x 4) = 4/12
- For 1/4: 12 ÷ 4 = 3. So, 1/4 = (1 x 3)/(4 x 3) = 3/12
- Add the Fractions: 4/12 + 3/12 = (4 + 3)/12 = 7/12
- Simplify: The fraction 7/12 is already in its simplest form.
Simplifying Fractions: The Key to Elegance
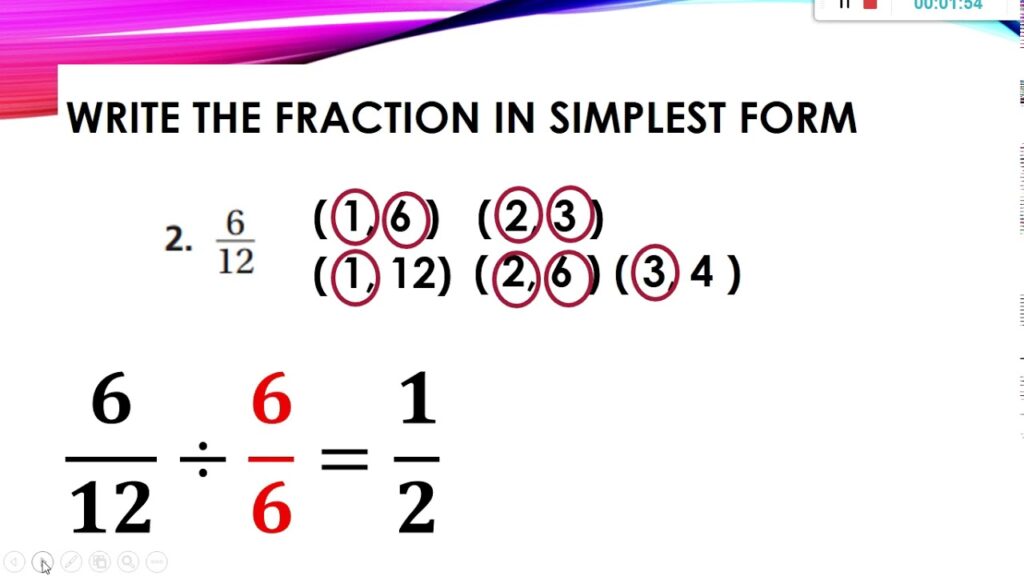
Simplifying fractions is the process of reducing a fraction to its simplest form. This involves finding the greatest common factor (GCF) of the numerator and denominator and then dividing both by the GCF. The GCF is the largest number that divides evenly into both the numerator and the denominator.
Finding the Greatest Common Factor (GCF)
There are several methods for finding the GCF, including listing factors, prime factorization, and using the Euclidean algorithm. Let’s explore the most common methods:
1. Listing Factors
This method involves listing all the factors of both the numerator and the denominator and then identifying the largest factor that they have in common.
Example: Find the GCF of 12 and 18.
- Factors of 12: 1, 2, 3, 4, 6, 12
- Factors of 18: 1, 2, 3, 6, 9, 18
The greatest common factor of 12 and 18 is 6.
2. Prime Factorization
This method involves breaking down both the numerator and the denominator into their prime factors. The GCF is then found by multiplying the common prime factors together.
Example: Find the GCF of 24 and 36.
- Prime factorization of 24: 2 x 2 x 2 x 3
- Prime factorization of 36: 2 x 2 x 3 x 3
The common prime factors are 2 x 2 x 3, so the GCF is 2 x 2 x 3 = 12.
Simplifying Fractions Using the GCF
Once you have found the GCF of the numerator and denominator, you can simplify the fraction by dividing both by the GCF.
Example: Simplify the fraction 24/36.
We already found that the GCF of 24 and 36 is 12.
Divide both the numerator and denominator by 12:
24/12 = 2
36/12 = 3
Therefore, 24/36 simplified to its simplest form is 2/3.
Advanced Techniques and Considerations
While the basic principles of adding and simplifying fractions are relatively straightforward, there are some advanced techniques and considerations that can make the process even smoother and more efficient.
Adding Mixed Numbers
A mixed number is a number that consists of a whole number and a fraction (e.g., 2 1/2). To add mixed numbers, you can either convert them to improper fractions or add the whole numbers and fractions separately.
1. Converting to Improper Fractions
To convert a mixed number to an improper fraction, multiply the whole number by the denominator of the fraction and then add the numerator. The result becomes the new numerator, and the denominator stays the same.
Example: Convert 2 1/2 to an improper fraction.
2 x 2 + 1 = 5
So, 2 1/2 = 5/2
Once you have converted the mixed numbers to improper fractions, you can add them as described above.
2. Adding Whole Numbers and Fractions Separately
Alternatively, you can add the whole numbers and fractions separately and then combine the results.
Example: Add 2 1/4 and 1 1/2.
- Add the whole numbers: 2 + 1 = 3
- Add the fractions: 1/4 + 1/2 = 1/4 + 2/4 = 3/4
- Combine the results: 3 + 3/4 = 3 3/4
Dealing with Negative Fractions
Adding negative fractions is similar to adding positive fractions, but you need to pay attention to the signs. Remember the rules of adding integers: adding a negative number is the same as subtracting a positive number.
Example: Add -1/3 and 1/2.
First, find a common denominator: The LCM of 3 and 2 is 6.
Convert the fractions: -1/3 = -2/6 and 1/2 = 3/6
Add the fractions: -2/6 + 3/6 = 1/6
Simplifying Fractions with Large Numbers
When dealing with fractions that have large numerators and denominators, finding the GCF can be challenging. In such cases, the Euclidean algorithm can be a useful tool.
The Euclidean Algorithm
The Euclidean algorithm is an efficient method for finding the GCF of two numbers. It involves repeatedly dividing the larger number by the smaller number and then replacing the larger number with the remainder until the remainder is 0. The last non-zero remainder is the GCF.
Example: Find the GCF of 144 and 60.
- Divide 144 by 60: 144 ÷ 60 = 2 with a remainder of 24
- Replace 144 with 60 and 60 with 24: Now find the GCF of 60 and 24
- Divide 60 by 24: 60 ÷ 24 = 2 with a remainder of 12
- Replace 60 with 24 and 24 with 12: Now find the GCF of 24 and 12
- Divide 24 by 12: 24 ÷ 12 = 2 with a remainder of 0
The last non-zero remainder is 12, so the GCF of 144 and 60 is 12.
Common Mistakes to Avoid
Adding and simplifying fractions can be tricky, and it’s easy to make mistakes if you’re not careful. Here are some common mistakes to avoid:
- Forgetting to find a common denominator: This is a common mistake when adding fractions with uncommon denominators. Always find a common denominator before adding the numerators.
- Adding denominators: When adding fractions with a common denominator, do not add the denominators. Keep the denominator the same.
- Not simplifying the final answer: Always check if the resulting fraction can be simplified to its simplest form.
- Incorrectly finding the LCM or GCF: Make sure you are accurately finding the LCM and GCF. Using the wrong values will lead to incorrect results.
- Ignoring negative signs: Pay close attention to negative signs when adding negative fractions.
Real-World Applications of Fraction Addition
Understanding how to add and simplify fractions is not just an academic exercise; it has numerous real-world applications. Here are just a few examples:
- Cooking and Baking: Recipes often involve fractions of ingredients. Knowing how to add fractions is essential for adjusting recipes or scaling them up or down.
- Construction and Carpentry: Measurements in construction and carpentry often involve fractions. Adding fractions is necessary for calculating lengths, areas, and volumes.
- Finance: Fractions are used in finance to represent percentages, interest rates, and investment returns. Adding fractions can help you calculate total returns or compare different investment options.
- Time Management: Dividing tasks into smaller fractions of time can help you manage your time more effectively. Adding fractions can help you calculate the total time spent on different tasks.
- Engineering: Engineers use fractions in various calculations, such as determining stress and strain on materials or calculating fluid flow rates.
Practice Problems
To solidify your understanding of adding and simplifying fractions, try solving the following practice problems:
- Add 3/8 and 1/8. Simplify the result.
- Add 1/6 and 2/9. Simplify the result.
- Add 2 1/3 and 1 1/4. Simplify the result.
- Add -1/4 and 3/5. Simplify the result.
- Simplify the fraction 48/72.
Conclusion
Adding fractions and simplifying them to their simplest form is a fundamental skill in mathematics with wide-ranging applications in everyday life. By understanding the basic principles, mastering the techniques for finding common denominators and GCFs, and avoiding common mistakes, you can confidently add and simplify fractions with ease.
So, embrace the world of fractions, practice regularly, and watch your mathematical skills soar! Remember, every complex calculation is built upon simple foundations, and mastering fractions is a crucial step towards mathematical fluency.
