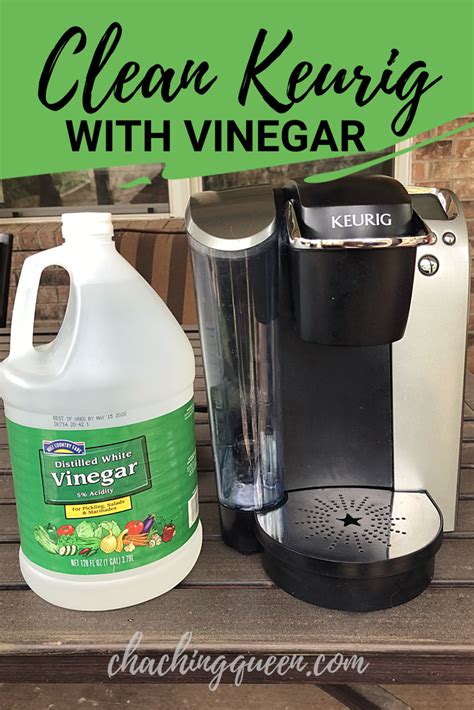
How to Clean Your Keurig with Vinegar: A Step-by-Step Guide
Is your Keurig coffee maker producing weak or off-tasting brews? A build-up of coffee oils and mineral deposits can be the culprit. Regular cleaning is crucial for maintaining your Keurig's performance and ensuring your coffee tastes its best. Vinegar is a surprisingly effective and affordable solution for deep cleaning your machine. This guide provides a detailed, step-by-step process on how to clean your Keurig with vinegar, leaving it sparkling and ready for delicious coffee.
Why Use Vinegar to Clean Your Keurig?
Vinegar's acidity cuts through mineral deposits and coffee residue, effectively removing stubborn stains and odors. It's a natural cleaner, readily available, and significantly cheaper than specialized Keurig cleaning solutions. Using vinegar regularly helps prevent costly repairs down the line.
What You'll Need:
- White vinegar: Distilled white vinegar is preferred to avoid any unwanted flavors or coloring.
- Water: Use filtered or bottled water for the best results.
- Keurig coffee maker: Make sure your machine is unplugged before starting the cleaning process.
- Measuring cup: For accurate measurement of vinegar and water.
- Clean cloths or paper towels: For wiping down the exterior.
Step-by-Step Cleaning Process:
Step 1: Prepare the Vinegar Solution
Mix equal parts white vinegar and water in your measuring cup. For example, if your Keurig's water reservoir holds 60 ounces, mix 30 ounces of vinegar with 30 ounces of water.
Step 2: Fill the Reservoir
Pour the vinegar and water solution into your Keurig's water reservoir. Ensure you empty the reservoir completely before adding the solution.
Step 3: Run a Brew Cycle
Place a large mug (or a container that can handle the volume) on the drip tray. Start a brew cycle as you would normally. Let the solution brew completely.
Step 4: Repeat the Process
To ensure a thorough cleaning, repeat steps 2 and 3. Running the vinegar solution through twice helps remove stubborn mineral build-up and coffee residue.
Step 5: Rinse the Reservoir
Once the second brew cycle is complete, empty the reservoir and rinse it thoroughly with clean water. Repeat the rinsing process a couple of times to ensure all traces of vinegar are removed.
Step 6: Run a Rinse Cycle
Fill the reservoir with fresh, clean water. Run two or three brew cycles with plain water to flush out any remaining vinegar. This is crucial to remove the vinegar taste and smell from your machine.
Step 7: Wipe Down the Exterior
Use a clean cloth or paper towels to wipe down the exterior of your Keurig, removing any spills or residue.
Step 8: Descaling Needle (if applicable)
Some Keurig models have a needle that needs descaling. Refer to your user manual for specific instructions on how to clean the needle. Generally, it involves using a pin or needle to carefully remove any clogs.
Maintaining Your Keurig: Tips for Preventing Build-Up
- Regular Cleaning: Aim to clean your Keurig with vinegar every 3-6 months, or more frequently if you use it daily.
- Use Filtered Water: Using filtered water helps reduce mineral deposits.
- Rinse the K-Cup Holder: Regularly rinse the K-Cup holder after each use to prevent coffee grounds from building up.
- Clean the Drip Tray: Empty and clean the drip tray regularly.
By following these simple steps, you can keep your Keurig clean, functioning optimally, and brewing delicious coffee for years to come. Remember, consistent cleaning is key to enjoying the best possible coffee from your Keurig machine!
