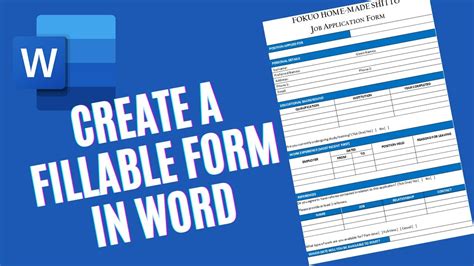
How to Create a Fillable Form in Word: A Step-by-Step Guide
Creating fillable forms in Microsoft Word is easier than you think. This guide will walk you through the process, helping you design professional-looking forms perfect for collecting data, applications, or any information you need. Whether you're a seasoned Word user or a complete beginner, this tutorial will have you creating forms in no time.
Understanding Fillable Forms in Word
Before we dive in, let's clarify what a fillable form in Word is. It's a document that allows recipients to fill in specific fields electronically, such as text boxes, checkboxes, and date pickers. These entries are then saved within the document itself. This eliminates the need for manual data entry and makes information collection much more efficient.
Step-by-Step Guide to Creating a Fillable Form
Here's a detailed, step-by-step guide to creating your own fillable form in Microsoft Word:
Step 1: Design Your Form Layout
Begin by designing the basic layout of your form. Use tables to organize information effectively. Tables provide structure and help keep everything aligned. Consider using different fonts and sizes for headings, instructions, and data fields to improve readability. Remember to keep it clean and uncluttered!
Step 2: Inserting Content Controls
This is where the magic happens. Word offers various content controls that transform your static document into a fillable form. Here's how to insert them:
-
Text Boxes: Perfect for collecting free-form text input (names, addresses, etc.). Go to the Developer tab (if you don't see it, enable it – see instructions below). In the Controls group, click Text Box. Draw a text box where you want the input field. You can adjust the size and properties as needed.
-
Check Boxes: Ideal for yes/no questions or multiple-choice options. Follow the same steps as above, but select Check Box. Remember to clearly label each checkbox.
-
Date Pickers: For dates, select Date Picker. This ensures the user inputs a valid date format.
-
Drop-Down Lists: For predefined options, use Drop-Down List. After inserting, right-click and select Properties to add your choices.
Enabling the Developer Tab: If the Developer tab isn't visible in the Word ribbon, you'll need to enable it:
- Go to File > Options.
- Select Customize Ribbon.
- Check the box next to Developer in the right-hand panel.
- Click OK.
Step 3: Adding Instructions and Formatting
Clearly label each field with concise and unambiguous instructions. This minimizes confusion for those filling out the form. Use bold text or different font sizes to highlight important information. Consider adding a header and footer to further enhance the professional look of your document.
Step 4: Protecting Your Form
Once you've created your fillable form, you'll want to protect it to prevent unintended edits to the form’s structure.
- Go to the Developer tab.
- Click Restrict Editing.
- Under Editing restrictions, select Filling in forms.
- Check Yes, Start Enforcing Protection.
- Click OK.
This prevents users from accidentally modifying the form's layout while allowing them to fill in the designated fields.
Tips for Creating Effective Fillable Forms
- Keep it concise: Avoid unnecessary information. Focus on only what's essential.
- Logical flow: Arrange fields in a clear, logical order.
- Clear instructions: Provide clear and concise instructions for each section.
- Pre-fill data (Optional): If you know some information beforehand, you can pre-fill fields to expedite the process.
- Test your form: Always test your form before distributing it to ensure it functions correctly.
By following these steps and tips, you can easily create professional, user-friendly fillable forms in Microsoft Word. Remember, clear design and intuitive functionality are key to creating a positive user experience.
