How to Erase a Facebook Account: A Complete Guide
Deleting your Facebook account can feel daunting, but it's a straightforward process once you understand the steps. This guide will walk you through completely removing your presence from Facebook, covering everything from account deactivation to permanent deletion. We'll also discuss what happens to your data and how to prepare for the process.
Understanding the Difference: Deactivation vs. Deletion
Before we dive into the steps, it's crucial to understand the difference between deactivating and deleting your Facebook account:
-
Deactivation: This temporarily hides your profile. Your information remains on Facebook's servers, but it's invisible to others. You can reactivate your account anytime. Think of it as hitting the "pause" button.
-
Deletion: This permanently removes your account and data from Facebook. This is a one-way street; once deleted, your information is gone, and you can't recover it. This is the equivalent of hitting the "delete" button.
This guide focuses on permanent deletion, as that's what most users looking to "erase" their Facebook account are aiming for.
Steps to Permanently Delete Your Facebook Account
Here's a step-by-step guide on how to permanently delete your Facebook account:
-
Log In: Access your Facebook account using your email address and password.
-
Access Account Settings: Click on the downward-facing arrow in the top right corner of your Facebook page. Select "Settings & Privacy," then choose "Settings."
-
Locate Your Information: In the left-hand menu, navigate to "Your Facebook Information."
-
Select Deactivation and Deletion: Click on "Deactivation and Deletion."
-
Choose "Delete Account": You'll see options for deactivation and deletion. Click on "Delete Account."
-
Enter Password: Facebook will require you to re-enter your password to confirm your request. This is a security measure to prevent accidental deletions.
-
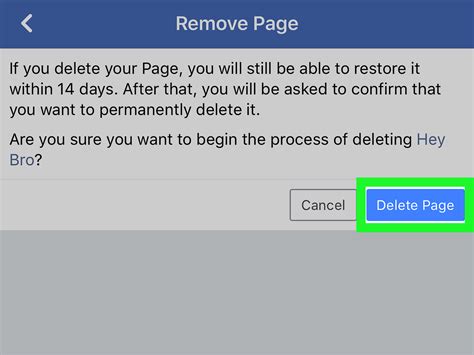
Confirm Deletion: Facebook will present you with a final confirmation screen. Carefully review the information, and click the button to confirm that you want to delete your account permanently. This action is irreversible.
-
Download Your Information (Optional): Before deleting your account, you can download a copy of your data. This is a useful step if you want to keep a record of your Facebook history. You can find this option within the "Your Facebook Information" settings.
What Happens After Deletion?
Once you've confirmed the deletion, Facebook will begin the process of removing your information from its servers. This can take several weeks. During this time, you won't be able to access your account. After the process is complete, your information will be irretrievably gone.
Preparing for Account Deletion
Before you delete your Facebook account, consider these important steps:
- Download Your Photos and Videos: Save any important photos and videos you've uploaded to your computer or another cloud storage service.
- Copy Important Messages: If you have important conversations you want to keep, save them before deleting your account.
- Inform Your Contacts: Let your friends and family know you're deleting your account, so they understand why they can no longer reach you through Facebook.
- Consider Alternatives: If you're deleting Facebook due to privacy concerns, research alternative social media platforms that better align with your needs.
Conclusion
Deleting your Facebook account is a significant decision, but following these steps will ensure a clean and complete removal of your data. Remember to carefully review each step and take the necessary precautions before proceeding. This guide provides a comprehensive approach to help you erase your Facebook presence effectively.
