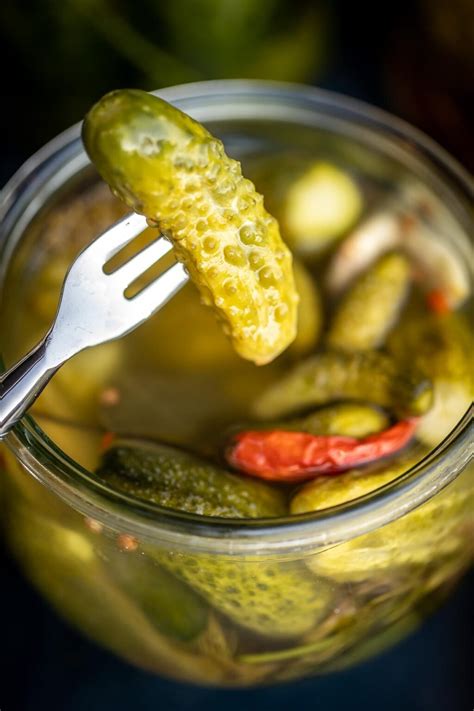
How to Make Dill Pickles: A Step-by-Step Guide for Crisp, Tangy Perfection
Making your own dill pickles is a rewarding experience, resulting in a flavor far superior to store-bought varieties. This guide provides a detailed, step-by-step process for creating crisp, tangy dill pickles at home. We'll cover everything from selecting the right cucumbers to achieving that perfect fermentation.
Choosing Your Cucumbers
The key to perfect pickles lies in selecting the right cucumbers. Small pickling cucumbers (about 2-4 inches long) are ideal due to their tender skin and compact size. Avoid larger cucumbers, as they tend to be less crisp and may become mushy during fermentation. Look for cucumbers that are firm, smooth, and free of blemishes.
Gathering Your Ingredients
For a classic dill pickle recipe, you'll need:
- Cucumbers: Approximately 1-2 pounds of small pickling cucumbers.
- Water: Filtered water is best to avoid chlorine flavors.
- White Vinegar: 5% acidity is recommended. Using distilled white vinegar ensures consistent results.
- Salt: Use non-iodized pickling salt. Iodized salt can cloud the brine.
- Dill: Fresh dill heads or dill seeds. Fresh dill provides a brighter flavor.
- Garlic: A few cloves, lightly crushed.
- Other Spices (Optional): Red pepper flakes for heat, mustard seeds for a bit of pungency, black peppercorns for added complexity.
Step-by-Step Pickling Process
1. Preparing the Cucumbers:
- Wash the cucumbers thoroughly.
- Optional: Pack the cucumbers in a bowl and cover with ice water for at least 30 minutes to promote crispness. This step is especially beneficial for older cucumbers.
2. Assembling the Jars:
- Sterilize your jars and lids using boiling water. This is crucial to prevent spoilage.
- Add your chosen spices to each jar – dill, garlic, and any optional spices.
3. Packing the Jars:
- Carefully pack the cucumbers into the sterilized jars, leaving about ½ inch of headspace at the top.
4. Preparing the Brine:
- In a saucepan, combine the water, vinegar, and pickling salt. Heat until the salt dissolves completely. Do not boil.
- Let the brine cool completely before pouring it over the cucumbers.
5. Completing the Jars:
- Pour the cooled brine over the cucumbers, leaving that ½-inch headspace.
- Remove any air bubbles by gently tapping the jars.
- Wipe the jar rims clean with a damp cloth.
- Seal the jars with lids and rings.
6. Fermentation and Storage:
- Refrigerator Method (Quick Pickles): Place the sealed jars in the refrigerator. These pickles will be ready to enjoy in a few days, and will continue to develop flavor over a couple of weeks. These pickles will not be as crisp as fermented pickles.
- Fermentation Method (Traditional Pickles): Place the jars in a cool, dark place (around 70°F) for fermentation. You may notice some bubbling activity—this is normal. After a week, check the jars for signs of fermentation. If the jars are bulging, it is time to move them to the refrigerator. These pickles will be ready in 2-4 weeks, achieving a more tangy and crisp texture.
Troubleshooting and Tips
- Cloudy Brine: This is usually caused by using iodized salt. Use non-iodized pickling salt instead.
- Soft Pickles: Ensure you use small, firm cucumbers. Packing them tightly and using ice water before pickling can also help maintain crispness.
- Mold: If you notice mold, discard the entire jar. Mold indicates spoilage.
Conclusion
Making your own dill pickles is a fun and rewarding culinary adventure. By following these steps and tips, you’ll be well on your way to creating delicious, homemade pickles that will impress your friends and family. Experiment with different spices and variations to discover your perfect pickle recipe! Remember to always prioritize food safety and practice proper canning techniques.
