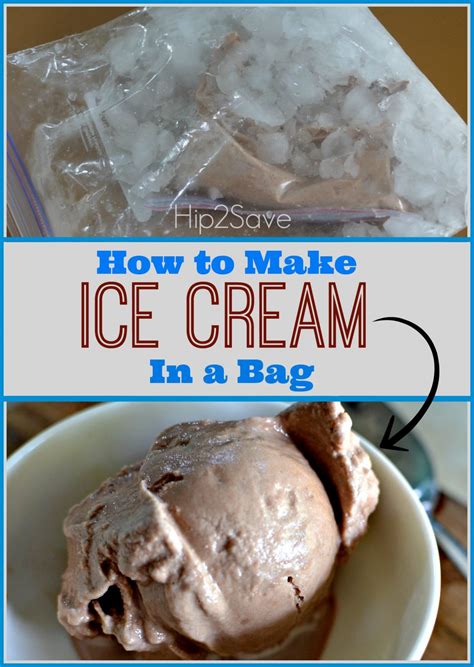
How to Make Ice Cream in a Bag: A Fun and Easy Homemade Treat
Making ice cream in a bag is a fantastically fun activity for kids and adults alike! It's a simple, hands-on method that requires minimal equipment and produces a delicious, creamy result. This guide will walk you through the process, providing tips and tricks for the perfect homemade ice cream experience. Forget the ice cream maker; let's get creative in the kitchen!
What You'll Need:
Before you start churning out your frozen delight, gather these essential ingredients and supplies:
- 1 cup Half-and-half or Heavy Cream: The creamier, the better! Heavy cream yields a richer, more decadent ice cream.
- 1/2 cup Sugar: Adjust to your sweetness preference.
- 1 teaspoon Vanilla Extract: Or your favorite flavoring! Experiment with different extracts like almond, peppermint, or even chocolate.
- 1/4 teaspoon Salt: This helps enhance the sweetness and creates a smoother texture.
- 1 cup Ice: Use plenty of ice for effective freezing. Crushed ice works best, but regular ice cubes will do.
- 1/2 cup Rock Salt: This lowers the freezing point of the ice, allowing for faster and more efficient freezing.
- 1 Gallon-sized Ziploc Bag: This will be your main ice cream container.
- 1 Quart-sized Ziploc Bag: This is where the magic happens. It holds the ice cream mixture.
Step-by-Step Instructions:
Follow these steps to create your very own homemade ice cream:
1. Prepare the Ice Cream Mixture:
In the quart-sized Ziploc bag, combine the half-and-half (or heavy cream), sugar, vanilla extract, and salt. Seal the bag tightly, ensuring no leaks.
2. Create the Ice Bath:
In the gallon-sized Ziploc bag, add the ice and rock salt. Make sure the ice is well-distributed.
3. Combine and Shake:
Place the sealed quart-sized bag (containing the ice cream mixture) inside the gallon-sized bag (with the ice and salt). Seal the gallon-sized bag tightly.
4. The Shake-a-thon:
Now comes the fun part! Shake the bag vigorously for 10-15 minutes. The longer you shake, the firmer your ice cream will be. Get the kids involved – it’s a great workout! You might need to take breaks to avoid getting tired.
5. Reveal Your Creation:
Once sufficiently shaken, carefully open the gallon bag, then remove the quart-sized bag. Open the quart-sized bag and enjoy your homemade ice cream!
Tips and Tricks for Success:
- Crushed Ice: Using crushed ice increases the surface area, leading to faster freezing.
- Rock Salt is Key: Don't substitute regular table salt. Rock salt lowers the freezing point of the ice more effectively.
- Flavor Experimentation: Get creative with your flavors! Try adding chocolate chips, cookie crumbs, or different extracts.
- Patience is a Virtue: Don't rush the shaking process. Consistent shaking is crucial for a smooth, creamy texture.
Beyond Vanilla: Delicious Ice Cream Flavor Ideas
Fruity Fun:
- Strawberry Swirl: Add fresh or frozen strawberries to your mixture.
- Mango Tango: Use pureed mango for a tropical twist.
- Blueberry Bliss: Incorporate fresh or frozen blueberries for a vibrant color and flavor.
Chocolate Cravings:
- Chocolate Chip Delight: Add your favorite chocolate chips.
- Mocha Madness: Mix in instant coffee granules for a mocha flavor.
This method is a simple and rewarding way to enjoy homemade ice cream. The best part? The cleanup is minimal! So gather your ingredients, get shaking, and enjoy the delicious results. Let us know your favorite flavor combinations in the comments below!
