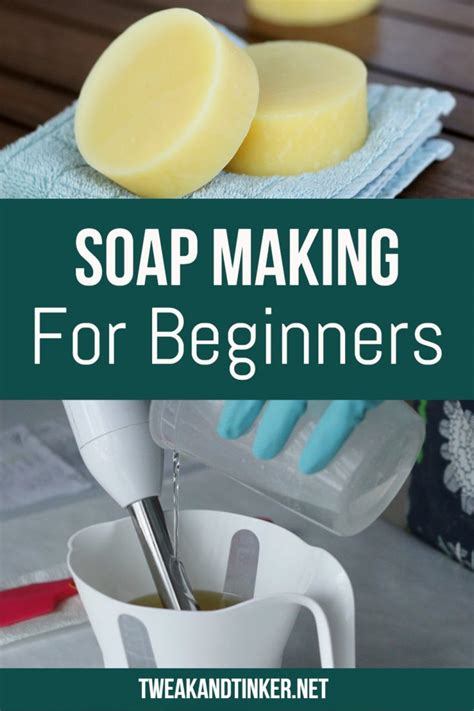
How to Make Soap: A Beginner's Guide to Homemade Soapmaking
Making your own soap is a rewarding and surprisingly simple process. This comprehensive guide will walk you through the basics, equipping you with the knowledge to create beautiful, fragrant, and effective soaps from the comfort of your own home. Whether you're a complete beginner or have some experience, this guide will help you elevate your soapmaking skills.
Understanding the Soapmaking Process: Saponification
The magic of soapmaking lies in saponification, a chemical reaction where fats or oils (lipids) are combined with a strong alkali (typically lye) to produce soap and glycerin. This process breaks down the fatty acids in the oils, transforming them into the cleansing agents we know as soap.
Important Safety Note: Lye is a caustic substance. Always wear safety glasses, gloves, and long sleeves when handling it. Work in a well-ventilated area, and avoid contact with skin and eyes.
Choosing Your Oils and Fats
The type of oils and fats you use will significantly impact the properties of your soap. Different oils offer varying levels of hardness, lather, and conditioning:
- Olive Oil: Creates a mild, moisturizing, and conditioning soap. It can be gentle on sensitive skin but can also create a softer, more pasty bar.
- Coconut Oil: Produces a hard bar with excellent lather and cleansing properties. It can be slightly drying, so it's often blended with other oils.
- Palm Oil: Contributes to a hard bar with good lather and conditioning. (Note: Consider sourcing sustainable palm oil to minimize environmental impact.)
- Castor Oil: Adds extra lather and conditioning.
- Shea Butter: Creates a creamy, moisturizing bar.
Gathering Your Supplies: Essential Equipment and Ingredients
Before you begin, ensure you have the following:
- Lye (Sodium Hydroxide): Available at most hardware stores.
- Distilled Water: Crucial for accurate measurements.
- Oils and Fats: Choose your preferred blend based on the desired properties.
- Scale: A digital scale is essential for accurate measurements of lye and oils. Gram measurement is preferred for accuracy.
- Heat-resistant containers: Glass or stainless steel are ideal.
- Whisk or immersion blender: For mixing the lye solution and oils.
- Mould: Silicone moulds are easy to use and clean. Wooden boxes lined with parchment paper also work well.
- Thermometer: To monitor temperatures during the process.
- Gloves, safety glasses, and long sleeves: Essential safety equipment.
- Optional additions: Essential oils for fragrance, herbs, clays, and other additives.
The Step-by-Step Soapmaking Process
- Prepare the Lye Solution: Carefully add the lye to the distilled water (never the other way around). Stir gently until completely dissolved. The mixture will heat up significantly.
- Measure Your Oils: Weigh your chosen oils and fats accurately using your digital scale.
- Combine Oils and Lye: Once the lye solution has cooled slightly (to around 100-110°F or 38-43°C), slowly add it to your oils.
- Mix Until Trace: Use a whisk or immersion blender to thoroughly mix the lye solution and oils. You'll reach "trace" when the mixture thickens enough to leave a trail on the surface when you drizzle it from your whisk.
- Add Additives (Optional): Once trace is reached, carefully incorporate your essential oils, herbs, or other additives.
- Pour into Mould: Pour the soap mixture into your chosen mould.
- Insulation and Curing: Cover the mould and wrap it in a towel or blanket to insulate it. This helps maintain heat and aids the saponification process.
- Curing: Allow the soap to cure for 4-6 weeks in a cool, dry place. This allows excess water to evaporate, resulting in a harder, longer-lasting bar.
Tips for Success
- Accuracy is key: Precise measurements are critical for successful saponification.
- Safety first: Always prioritize safety when working with lye.
- Experiment with different oils and additives: Discover your favorite soap recipes through experimentation.
- Patience is a virtue: Allow sufficient curing time for the best results.
By following these steps and prioritizing safety, you'll be well on your way to creating your own beautiful and functional homemade soap. Enjoy the process and the satisfaction of crafting something unique and personal!
