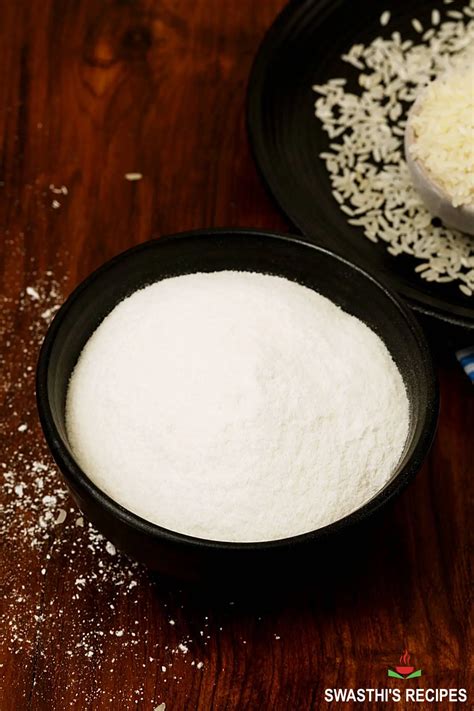
How to Make Rice Flour: A Comprehensive Guide
Making your own rice flour is easier than you think! This comprehensive guide will walk you through the process, from selecting the right rice to achieving the perfect texture for your culinary creations. Whether you need fine flour for delicate cakes or coarser flour for thicker dishes, this guide has you covered.
Choosing the Right Rice
The type of rice you choose significantly impacts the resulting flour's texture and flavor. Here's a breakdown:
- Glutinous Rice (Sweet Rice): This rice yields a sticky, chewy flour ideal for mochi, rice cakes, and other desserts. It's also often used as a thickening agent.
- Long-Grain White Rice: This produces a lighter, less sticky flour, perfect for baking and making delicate dishes like crepes or pancakes.
- Short-Grain White Rice: Similar to long-grain, but results in a slightly coarser flour.
- Brown Rice: Provides a nuttier flavor and a slightly coarser texture than white rice flour. It's a great option for those seeking a more nutritious flour.
Equipment You'll Need:
- Rice: Choose your preferred type based on your desired outcome (see above).
- Food Processor or High-Powered Blender: Essential for grinding the rice into flour. A mortar and pestle can work for smaller quantities but is very time-consuming.
- Fine-Mesh Sieve (Optional): For achieving a smoother, finer flour.
- Airtight Container: For storing your homemade rice flour.
Step-by-Step Guide to Making Rice Flour:
-
Clean and Dry the Rice: Rinse your rice thoroughly under cold water to remove any debris. Then, spread it out on a clean, dry towel or baking sheet to ensure it's completely dry. Any moisture will hinder the grinding process and can lead to spoilage.
-
Grind the Rice: Add the dry rice to your food processor or blender in small batches. Pulse the appliance until the rice is finely ground into a flour-like consistency. Be careful not to over-process, which can generate heat and affect the quality of the flour. Pause frequently to scrape down the sides of the bowl.
-
Sieve (Optional): For a finer texture, sift the ground rice through a fine-mesh sieve. This removes any larger particles or unprocessed grains, resulting in a smoother flour.
-
Store Properly: Transfer your freshly made rice flour into an airtight container. Store it in a cool, dry, and dark place to maintain its freshness and prevent spoilage. Proper storage can extend its shelf life for several months.
Tips for Success:
- Start with small batches: This allows for easier processing and prevents overheating.
- Don't overfill your processor: Overfilling can lead to inefficient grinding and potential damage to your equipment.
- Check for consistency: Regularly check the texture of the flour while grinding to ensure it reaches your desired fineness.
- Experiment with different rice varieties: Explore the various textures and flavors produced by different rice types.
Using Your Homemade Rice Flour:
Now that you've made your own rice flour, it's time to get baking or cooking! Here are some ideas to get you started:
- Baking: Pancakes, cakes, cookies, muffins
- Thickening: Soups, stews, sauces
- Gluten-Free Dishes: Many gluten-free recipes utilize rice flour as a primary ingredient.
Making your own rice flour is a rewarding experience that allows you to control the quality and freshness of your ingredients. Enjoy the process and the delicious results!
