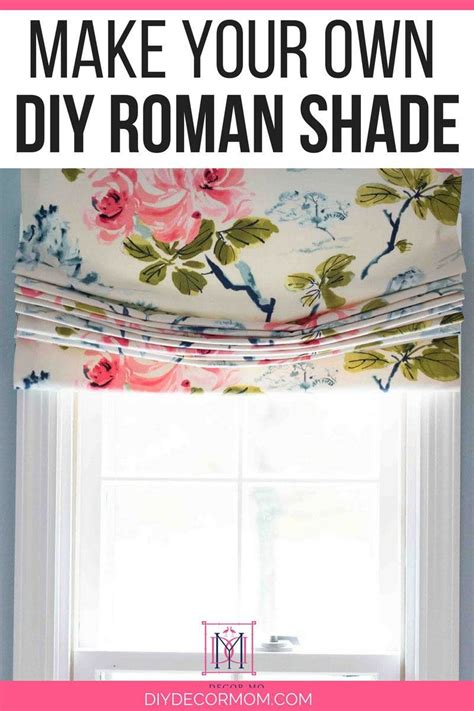
How To Make Window Blinds From Wallpaper: A Budget-Friendly DIY Project
Want to add a unique touch to your home décor without breaking the bank? Creating custom window blinds from wallpaper is a surprisingly easy and affordable DIY project. This guide will walk you through the process, offering tips and tricks for a professional-looking finish. Let's transform your old wallpaper scraps into stylish, personalized window treatments!
Choosing Your Wallpaper and Supplies
The first step in your wallpaper blind project is selecting the perfect wallpaper. Consider the following:
- Pattern and Color: Think about the overall aesthetic of your room. A bold pattern can make a statement, while a subtle design can complement existing décor. Remember to consider the light; a dark wallpaper may absorb more light than you’d like.
- Material: Choose a durable wallpaper that can withstand handling and potential moisture. Vinyl wallpapers are generally a good option for their water-resistance and strength.
- Quantity: Measure your window carefully to determine the amount of wallpaper needed. It's always best to have a little extra on hand, just in case.
Beyond the wallpaper itself, you'll need the following supplies:
- Measuring Tape and Ruler: Accurate measurements are crucial for a well-fitting blind.
- Scissors or Rotary Cutter: A rotary cutter makes cutting large pieces of wallpaper much easier and more precise.
- Pencil: For marking your measurements on the wallpaper.
- Heavy-Duty Adhesive: Choose an adhesive suitable for wallpaper and the type of material you're using. Spray adhesive is often preferred for even application.
- Wooden Dowel Rod or Bamboo Pole: This will form the top of your blind. The diameter should suit your chosen wallpaper width and overall aesthetic.
- String or Cord: For raising and lowering the blind.
- Small Screws or Nails: To attach the dowel or pole securely.
- Weights (optional): Small weights, like fishing weights, can be attached to the bottom of the blind to keep it straight.
Measuring and Cutting Your Wallpaper
Accurate measurements are key! Carefully measure the width and length of your window. Add extra length to account for the top and bottom hems, and remember to add a few extra centimeters for potential errors.
Step-by-Step Guide:
- Mark Your Measurements: Using your pencil, mark the measured dimensions onto the back of your wallpaper.
- Cut the Wallpaper: Carefully cut the wallpaper along the marked lines. A sharp rotary cutter can make this process much smoother.
- Repeat as Needed: If your window requires multiple strips of wallpaper, repeat steps 1 and 2 for each strip.
Assembling Your Wallpaper Blinds
Once you have all your wallpaper pieces cut, it's time to assemble the blinds.
- Apply Adhesive: Apply an even coat of adhesive to the back of each wallpaper strip, following the manufacturer's instructions.
- Attach to Dowel or Pole: Carefully adhere the top edge of each wallpaper strip to the dowel or pole, ensuring it is centered and evenly distributed. Let the adhesive dry completely.
- Create the Hem (Optional): For a more polished look, create a neat hem at the bottom edge of the blind. You can use fabric glue or a small amount of adhesive.
- Attach Weights (Optional): Attach small weights along the bottom of the blind for even hanging.
Hanging Your New Wallpaper Blinds
Now for the final step – hanging your newly crafted blinds!
- Drill holes (if necessary): If your window frame doesn't have existing holes, you'll need to drill small holes to hang your blind.
- Attach the Dowel or Pole: Secure the dowel or pole to the window frame using the screws or nails.
- Attach the String or Cord: Attach the string or cord to the dowel or pole and the bottom of the blind, allowing for easy raising and lowering.
Tips for Success
- Practice Makes Perfect: Consider practicing on scrap pieces of wallpaper before working with your final cuts.
- Use a Sharp Blade: A sharp blade will ensure clean cuts and prevent fraying of the wallpaper.
- Work in a Clean Space: Keep your workspace clean to avoid any dust or debris from sticking to the adhesive.
By following these steps, you can easily create beautiful, customized window blinds using your existing wallpaper. This eco-friendly and budget-conscious DIY project will not only enhance your home décor but also add a personal touch to your living space. Enjoy your new, unique blinds!
