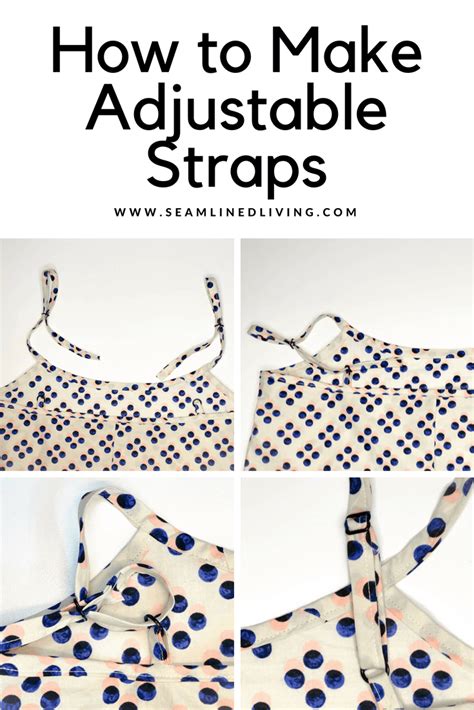
How To Make Your Own Adjustable Straps: A DIY Guide
Creating your own adjustable straps opens up a world of possibilities for crafting and repair. Whether you need to replace a broken bag strap, customize a piece of clothing, or build a unique accessory, this guide will walk you through the process. We'll cover different materials, techniques, and hardware to help you achieve professional-looking results.
Choosing Your Materials: The Foundation of Your Strap
The material you choose will significantly impact the final look and feel of your adjustable strap. Consider the project: a delicate handbag calls for a different material than a heavy-duty backpack strap.
Popular Strap Material Options:
- Cotton webbing: A readily available and affordable option, perfect for lighter-duty projects. It's easy to work with and comes in various widths and colors.
- Nylon webbing: Stronger and more durable than cotton, nylon webbing is ideal for backpacks, outdoor gear, and other high-stress applications. It's also resistant to water and wear.
- Leather: Offers a luxurious and classic look, but requires more skill and specialized tools to work with. Leather straps are ideal for high-end bags and accessories.
- Paracord: Incredibly versatile and strong, paracord can be braided or used as is for creating unique and sturdy straps.
Essential Tools and Hardware: Gathering Your Supplies
Before you start, gather the necessary tools and hardware. Having everything ready will make the process smoother and more efficient.
Essential Tools:
- Measuring tape: Accurate measurements are crucial for a well-fitting strap.
- Scissors or rotary cutter: For clean cuts, especially important for webbing materials.
- Lighter or heat sealer: To prevent fraying on the ends of your chosen material.
- Sewing machine (optional): While some methods don't require sewing, a sewing machine simplifies the process for certain materials and designs.
- Hole punch (optional): For creating holes for buckles and sliders.
- Heavy-duty needle and thread (if hand-sewing): Choose strong thread that matches your strap material.
Essential Hardware:
- Adjustable slider buckles: These are the key components that allow for adjustability. Choose the size appropriate for your strap material.
- Buckles (optional): Depending on your design, you might need additional buckles to secure the strap ends.
- D-rings (optional): These rings are helpful for attaching the strap to bags or other items.
Step-by-Step Guide: Creating Your Adjustable Strap
This guide uses cotton webbing and an adjustable slider buckle as an example. Adjust the steps as needed based on your chosen materials.
Step 1: Measure and Cut: Measure the desired length of your strap, accounting for the buckle's size and any additional hardware. Add extra length for adjustments. Cut the webbing to the appropriate length.
Step 2: Seal the Ends: Use a lighter or heat sealer to melt the cut ends of the webbing, preventing fraying. This is crucial for maintaining the strap's integrity.
Step 3: Attach the Hardware: Attach the adjustable slider buckle to the webbing, following the manufacturer's instructions. This usually involves passing the webbing through the buckle's slots.
Step 4: Secure the Strap: Depending on your desired style, you might need to sew the ends of the webbing to secure the buckle in place. Alternatively, some buckles can be attached without sewing.
Design Variations and Customization
The possibilities are endless! Experiment with different materials, colors, and hardware to create unique and personalized adjustable straps. Consider:
- Braiding techniques: For paracord straps, braiding adds strength and visual appeal.
- Embroidery or embellishments: Add decorative stitches or embellishments to personalize your strap.
- Different buckle types: Explore various buckle styles to suit the overall design.
Conclusion: Unleash Your Creativity
Making your own adjustable straps is a rewarding experience. With a little practice and the right materials, you can create custom straps for virtually any project. Remember to prioritize safety and use appropriate tools for the materials you choose. Let your creativity guide you, and enjoy the satisfaction of crafting something unique and functional!
