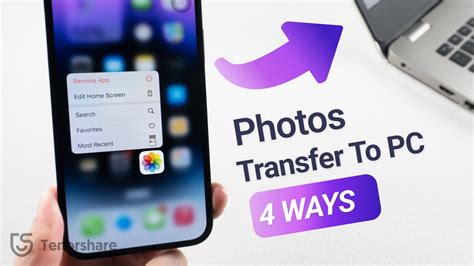
How to Move Photos From iPhone to Computer: A Complete Guide
Transferring photos from your iPhone to your computer might seem daunting, but it's actually quite straightforward. This comprehensive guide will walk you through several methods, ensuring you find the perfect solution for your needs. We'll cover everything from using cables to utilizing cloud services, helping you choose the best approach based on your tech comfort level and the number of photos you need to transfer.
Method 1: Using a USB Cable (The Direct Approach)
This is the most common and arguably easiest method for transferring photos directly from your iPhone to your computer.
What you'll need:
- Your iPhone
- A USB cable (the one that came with your iPhone will work perfectly)
- Your computer (Windows or Mac)
Step-by-step instructions:
- Connect your iPhone: Plug your iPhone into your computer using the USB cable.
- Unlock your iPhone: Ensure your iPhone is unlocked.
- Trust this Computer: Your computer might ask if you trust this computer; tap "Trust" on your iPhone to proceed.
- Access Photos: On your computer, locate your iPhone in the file explorer (Windows) or Finder (Mac). You should see your iPhone listed as a device.
- Select Photos: Navigate to the "DCIM" folder (Digital Camera Images), where your photos are stored. You can then select individual photos or entire folders to transfer.
- Copy and Paste or Drag and Drop: Simply copy and paste the selected photos to a desired folder on your computer, or use the drag-and-drop feature.
Method 2: Using iCloud Photo Library (Cloud-Based Solution)
iCloud Photo Library is a convenient way to keep your photos synced across all your Apple devices and accessible from your computer.
Setting up iCloud Photo Library:
- Ensure sufficient iCloud storage: You'll need enough iCloud storage to accommodate all your photos. You may need to purchase more storage if necessary.
- Enable iCloud Photo Library: Go to your iPhone's Settings > Photos and turn on iCloud Photos.
- Access on your computer: On your computer, sign into iCloud and ensure that iCloud Photos is enabled. Your photos will sync automatically. You can then access them through the iCloud website or the iCloud app (for Windows).
Advantages of iCloud Photo Library:
- Automatic syncing: Your photos are automatically kept up-to-date across all your devices.
- Accessibility: Access your photos from anywhere with an internet connection.
Method 3: Using Third-Party Apps (For Specific Needs)
Several third-party apps offer enhanced photo management features and streamlined transfer capabilities. These apps often provide additional features like photo editing and organization tools. Research and choose an app that best suits your requirements; however, be sure to download from reputable sources to avoid malware.
Choosing the Best Method for You:
- For a quick, one-time transfer of a small number of photos: The USB cable method is ideal.
- For continuous syncing and access across multiple devices: iCloud Photo Library is the best option.
- For advanced features and specific needs: Consider exploring third-party apps.
Remember to always back up your photos regularly to prevent data loss. This guide provides you with the tools to choose the method that best suits your needs and helps maintain a well-organized digital photo collection.
