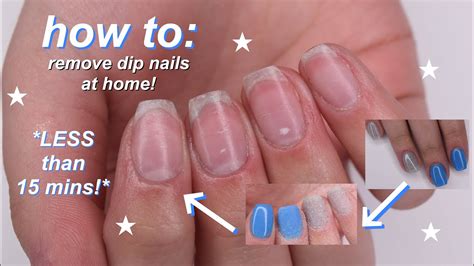
How To Remove Dip Nails Safely and Effectively at Home
Removing dip nails at home might seem daunting, but with the right technique and tools, you can do it safely and effectively without damaging your natural nails. This guide provides a step-by-step process to ensure a smooth and painless removal. Avoid harsh methods that can weaken your nails; this guide prioritizes nail health.
What You'll Need:
- Acetone: This is the key ingredient for dissolving the dip powder. Pure acetone is most effective.
- Cotton balls or pads: These will soak up the acetone.
- Aluminum foil: Used to create wraps around your fingertips, keeping the acetone in contact with the nails.
- Cuticle pusher or orangewood stick: Helpful for gently pushing back cuticles and removing softened dip powder.
- Nail file (optional): For lightly buffing the surface of the nails before soaking. This isn't strictly necessary but can help the acetone penetrate more quickly.
- Nail buffer (optional): For smoothing out your natural nails after removal.
- Cuticle oil: Essential for moisturizing and nourishing your nails after the removal process.
- Nail clippers (optional): If the dip powder is severely damaged, you may need to shorten your nails before soaking.
Step-by-Step Guide to Dip Nail Removal:
1. Preparation is Key:
- Gather your supplies: Ensure you have everything you need before you begin. This will make the process smoother.
- Protect your workspace: Acetone can damage surfaces, so work in a well-ventilated area and protect your work surface with an old towel or newspaper.
- Optional: Lightly file the surface: Gently buff the top layer of your dip powder nails. This helps the acetone penetrate more easily. Avoid over-filing, which can weaken your natural nails.
2. Soaking Your Nails:
- Cut cotton balls or pads: Cut enough cotton balls or pads to fully cover each nail.
- Saturate with acetone: Soak the cotton balls or pads thoroughly with pure acetone.
- Wrap your nails: Place a soaked cotton ball on each nail and wrap it tightly with a small piece of aluminum foil. Make sure the foil is snug but not too tight to avoid cutting off circulation.
- Wait patiently: Leave the acetone wraps on for 15-20 minutes. For thicker dip nails, you may need to leave them on for a longer period, up to 30 minutes. Check occasionally to see if the dip powder is softening.
3. Removing the Dip Powder:
- Remove the foil: Carefully remove the aluminum foil and cotton balls from each nail.
- Gently push and scrape: Use an orangewood stick or cuticle pusher to gently push and scrape away the softened dip powder. It should come off relatively easily. Avoid aggressive scraping which could damage your natural nail.
- Repeat if necessary: If some dip powder remains, re-soak your nails for another 5-10 minutes and repeat the process.
4. Post-Removal Care:
- Clean and moisturize: Once all the dip powder is removed, wash your hands and apply a generous amount of cuticle oil to hydrate your nails and cuticles. This will help prevent dryness and brittleness.
- Shape and buff (optional): You can use a nail file to shape your nails and a nail buffer to smooth out any rough edges.
- Avoid harsh chemicals: Give your nails a break from harsh chemicals and artificial enhancements for a while to allow them to recover.
Tips for Success:
- Ventilation is crucial: Work in a well-ventilated area to avoid inhaling acetone fumes.
- Don't rush the process: Patience is key for safe and effective dip nail removal.
- Protect your skin: Acetone can dry out your skin, so apply lotion to your hands and cuticles afterward.
- Listen to your nails: If you experience any pain or discomfort, stop immediately and seek advice from a nail technician.
By following these steps, you can successfully remove your dip nails at home while preserving the health of your natural nails. Remember that consistent nail care is essential for strong and beautiful nails.
