How to Screen Record on Windows: A Comprehensive Guide
Screen recording has become an essential tool for many, whether you're creating tutorials, capturing gameplay, or presenting a software demonstration. Windows offers several built-in and third-party options for screen recording, each with its own strengths and weaknesses. This guide will walk you through the most popular methods, helping you choose the best approach for your needs.
Built-in Windows Screen Recording Options
Windows 10 and 11 offer native screen recording capabilities, eliminating the need for additional software in many cases. These options are readily available and easy to use.
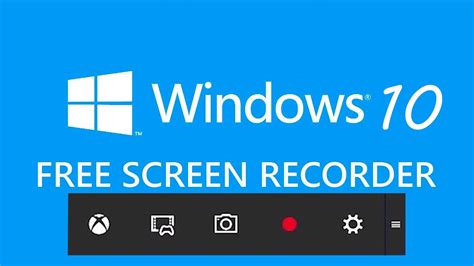
1. Xbox Game Bar: Ideal for Gaming and Quick Recordings
The Xbox Game Bar is a versatile tool primarily designed for gamers, but it’s surprisingly useful for general screen recording too.
- How to use it: Press Windows key + G. This will open the Game Bar. Click the "Record" button (a circular icon) to start recording. You can also use the "Screenshot" button for capturing still images. Stop recording by pressing the same button again. Your recordings are saved in your Videos folder under "Captures".
- Pros: Easy access, integrated into Windows, suitable for quick recordings.
- Cons: Lacks advanced features like editing capabilities or specific region selection.
2. Powerpoint (for Presentations): A Simple Solution for Slideshows
If you're recording a presentation, PowerPoint provides a built-in screen recording feature directly within the application.
- How to use it: In PowerPoint, go to the Insert tab and click on Screen Recording. Choose the area you want to record (full screen, selected window, or a specific region). Click the Record button to begin. Click the Stop button when finished. The recording is embedded directly into your PowerPoint presentation.
- Pros: Directly integrates with presentations, easy to use for slideshows.
- Cons: Not suitable for general screen recording outside of presentations.
Third-Party Screen Recording Software: Advanced Features and Options
While Windows' built-in options are convenient, third-party software offers more advanced features like editing tools, higher quality recordings, and more control over the recording process. Some popular choices include:
OBS Studio (Open Broadcaster Software): Powerful and Free
OBS Studio is a free and open-source software renowned for its extensive capabilities. It's a powerful tool perfect for streamers, YouTubers, and anyone needing advanced features.
- Key features: Scene switching, multiple audio sources, custom overlays, and streaming capabilities.
- Pros: Free, highly customizable, incredibly powerful.
- Cons: Steeper learning curve compared to simpler options.
Camtasia: User-Friendly with Editing Capabilities
Camtasia is a popular paid option that balances ease of use with robust features. It's known for its intuitive interface and comprehensive editing tools.
- Key features: High-quality recording, built-in editor with various effects and transitions, easy sharing options.
- Pros: User-friendly, excellent editing capabilities.
- Cons: Requires a paid license.
Choosing the Right Screen Recorder for You
The best screen recorder depends on your needs. For quick, simple recordings, Windows' built-in tools are sufficient. If you require advanced features like editing, streaming, or higher quality recordings, a third-party option like OBS Studio or Camtasia is recommended. Consider factors like ease of use, required features, and budget when making your choice.
Remember to always respect copyright laws when recording and sharing copyrighted material.
