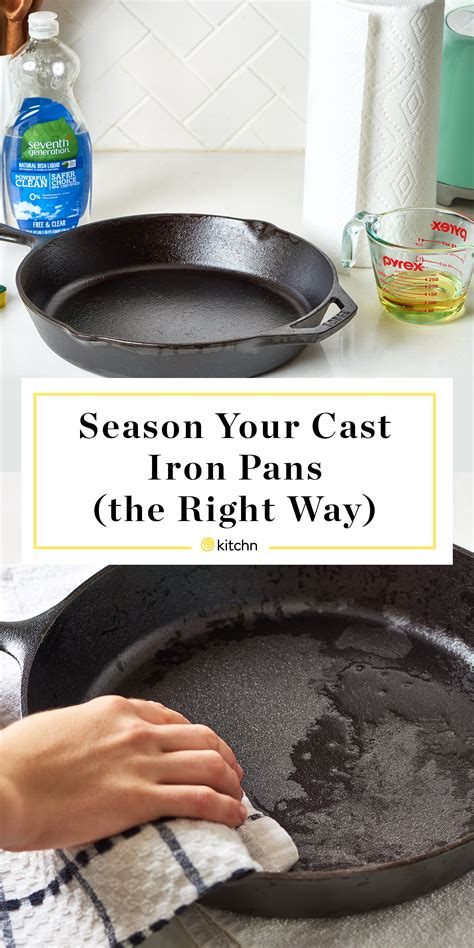
How to Season a Cast Iron Pan: A Comprehensive Guide
Cast iron cookware is renowned for its durability and ability to produce incredible searing and browning. But to unlock its full potential, you need to properly season it. Seasoning creates a naturally non-stick surface that improves with each use. This guide will walk you through the process, ensuring your cast iron pan becomes a kitchen heirloom.
Why Season Your Cast Iron Pan?
Seasoning your cast iron pan is crucial for several reasons:
- Creates a Non-Stick Surface: The seasoning process polymerizes the oil, creating a hard, durable layer that prevents food from sticking.
- Protects Against Rust: The oil layer acts as a barrier, protecting the iron from moisture and preventing rust.
- Improves Flavor: The seasoned surface helps enhance the flavor of your food.
- Enhances Cooking Performance: A well-seasoned pan heats evenly and cooks food beautifully.
What You'll Need:
- Cast Iron Pan: Make sure it's clean. Wash with hot, soapy water and scrub with a stiff brush if necessary. Dry thoroughly.
- Vegetable Oil: Choose a high-smoke point oil like flaxseed oil, canola oil, or vegetable shortening. Avoid olive oil, as it has a lower smoke point and can cause a sticky finish.
- Paper Towels: You'll need these for applying the oil and wiping off excess.
- Oven: You'll need access to an oven for the seasoning process.
The Seasoning Process: A Step-by-Step Guide
Step 1: Cleaning Your Pan:
Before you begin, ensure your cast iron pan is completely clean and dry. Any residue can interfere with the seasoning process. If your pan is brand new, you may only need to wipe it down with a clean cloth. If it's used, wash with hot, soapy water, scrub with a stiff brush if necessary, and dry completely.
Step 2: Applying the Oil:
Using a paper towel, thinly coat the entire surface of the pan, including the sides and handle, with your chosen oil. Don't be stingy, but don't flood it either. A light, even layer is key. Make sure to get into every nook and cranny.
Step 3: Baking in the Oven:
Place the pan upside down on the middle rack of your oven. This allows for even heat distribution and prevents oil from pooling. Bake at 450°F (232°C) for 1 hour.
Step 4: Cooling and Repetition:
After an hour, turn off the oven and allow the pan to cool completely inside the oven. Once cool, you may notice some oil residue. This is normal. Repeat steps 2 and 3 at least two more times, for best results. Each cycle builds layers of seasoning.
Step 5: Maintaining Your Seasoning:
After the initial seasoning, maintain the seasoning by:
- Oil After Each Use: After washing (see below), apply a thin layer of oil before storage.
- Avoid Harsh Cleaning: Don’t use harsh detergents or abrasive cleaners.
- Wash Gently: After most uses, wash with hot water and a soft sponge or brush. If needed, use a mild detergent. Don't use soap after every use.
Dealing with Stuck Food:
Occasionally, food might stick. Don't panic! Try using coarse salt to scrub the pan while still warm. This works wonders. For stubborn residue, you can soak it in hot water for a while before scrubbing.
Troubleshooting:
- Sticky Residue: This usually indicates too much oil was used. Try using less oil next time and ensure you wipe off the excess thoroughly before baking.
- Uneven Seasoning: This can happen if the oil wasn't applied evenly. Make sure to coat the entire surface thoroughly in future seasoning attempts.
- Rust: Rust happens when moisture gets to the cast iron. Make sure to dry thoroughly after washing and oil the surface after each use to prevent this.
By following these steps, you'll create a perfectly seasoned cast iron pan that will last a lifetime, providing years of delicious, perfectly cooked meals. Remember, the seasoning process is cumulative, and your pan will improve with each use. Happy cooking!
