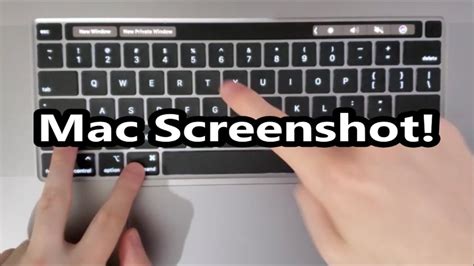
How to Take Screenshots on Your MacBook: A Comprehensive Guide
Taking screenshots on your MacBook is a crucial skill for anyone who uses a Mac. Whether you need to capture an error message, share a funny meme, or document a project, knowing how to take screenshots efficiently is essential. This guide will walk you through various screenshot methods, catering to different needs and preferences.
Understanding the Basics: Screenshot vs. Screen Recording
Before diving into the specifics, let's clarify the difference between a screenshot and a screen recording. A screenshot captures a single image of your screen at a specific moment. A screen recording, on the other hand, captures a video of your screen activity over a period of time. This guide focuses primarily on taking screenshots.
How to Take Screenshots on Your MacBook: The Essential Methods
Here are the key methods for capturing screenshots on your MacBook, ranging from simple full-screen captures to more precise selections:
1. Capturing Your Entire Screen
This is the simplest method. To capture your entire screen, simply press Shift + Command + 3. The screenshot will automatically be saved to your desktop as a PNG file.
2. Capturing a Specific Window or Portion of Your Screen
For more precise screenshots, you can capture a single window or a selected area of your screen. Here's how:
-
Capturing a Specific Window: Press Shift + Command + 4, then press the Spacebar. Your cursor will transform into a camera icon. Click on the window you want to capture. The screenshot will be saved to your desktop.
-
Capturing a Specific Area: Press Shift + Command + 4. Your cursor will change to a crosshair. Click and drag your cursor to select the area you want to capture. Release the mouse button to take the screenshot. The screenshot will be saved to your desktop.
3. Copying the Screenshot to Your Clipboard
If you don't want to save the screenshot directly to your desktop, you can copy it to your clipboard instead. This allows you to paste the image into other applications.
-
To copy the entire screen: Press Control + Shift + Command + 3.
-
To copy a selected area: Press Control + Shift + Command + 4. Select the area you want to capture, and it will be copied to your clipboard.
Advanced Screenshot Techniques: Refining Your Capture
Let’s explore some advanced techniques to enhance your screenshot workflow:
1. Saving Screenshots to a Specific Location
While screenshots automatically save to your desktop by default, you can change this. You can customize your screenshot save location using third-party apps or by adjusting your system preferences (though this requires some technical knowledge and isn't directly supported by the default OS features).
2. Using Screenshot Apps
Numerous third-party apps offer enhanced screenshot capabilities, including features like scrolling screenshots, annotations, and more. Searching the Mac App Store will reveal many options. Explore these options to find the app that suits your needs.
3. Troubleshooting Common Issues
If you're encountering difficulties taking screenshots, make sure your keyboard shortcuts are correctly configured. Occasionally, application conflicts can interfere with screenshot functionality. Restarting your Mac can often resolve these issues.
Conclusion: Mastering Your MacBook's Screenshot Capabilities
Mastering screenshot techniques significantly improves your productivity and efficiency on a MacBook. By utilizing the different methods outlined above, you can quickly and easily capture any screen content you need, whether it's a full screen, a window, or a specific area. Remember to explore advanced techniques and third-party apps to further optimize your screenshot workflow.
