How To Wash Walls: A Step-by-Step Guide for Sparkling Clean Walls
Cleaning your walls might seem like a daunting task, but with the right approach, it can be surprisingly simple and rewarding. Dirty walls can detract from the overall appearance of your home, making it feel less inviting. This comprehensive guide will walk you through how to wash walls effectively, leaving them spotless and refreshed. We'll cover different wall types, cleaning solutions, and essential tools, ensuring you achieve professional-looking results.
Preparing to Wash Your Walls
Before you even grab a sponge, proper preparation is key for a successful wall cleaning. This minimizes the risk of damage and ensures a thorough clean.
1. Gather Your Supplies:
- Cleaning Solution: We'll explore suitable solutions below, tailored to your wall type.
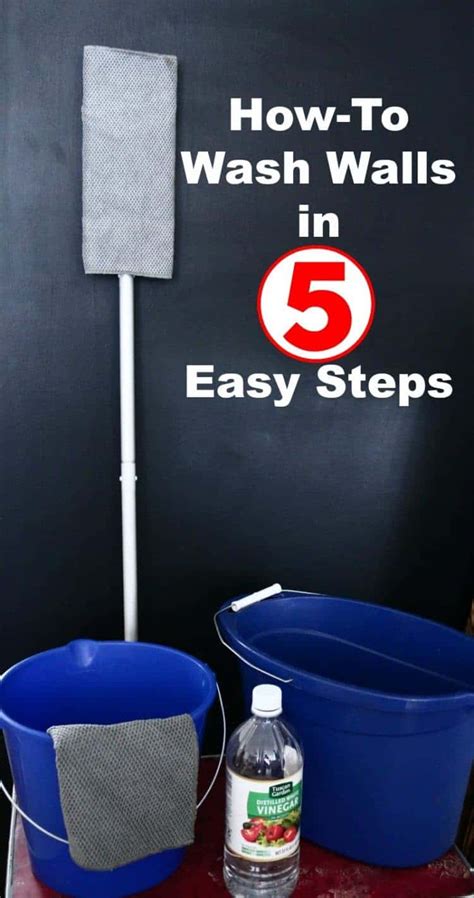
- Buckets: Two buckets are recommended—one for your cleaning solution and one for rinsing.
- Sponges or Cloths: Microfiber cloths are excellent for gentle yet effective cleaning. Sponges can also work well, but ensure they're soft to avoid scratching.
- Squeegee (Optional): A squeegee can help prevent streaks, particularly on glossy surfaces.
- Ladder or Step Stool: Reach those high spots safely!
- Protective Gear: Gloves are highly recommended to protect your hands from cleaning solutions. Eye protection is also advisable.
- Vacuum or Broom: Start by removing loose dust and cobwebs.
2. Protect Your Furniture and Floors:
Cover your floors with drop cloths or old towels to prevent spills and splashes. Move furniture away from the walls to allow for easy access.
3. Test Your Cleaning Solution:
Crucially, before applying any cleaning solution to the entire wall, test it on an inconspicuous area (like a hidden corner). This helps you check for any discoloration or damage before proceeding.
Choosing the Right Cleaning Solution for Your Walls
The best cleaning solution depends heavily on your wall type:
1. Painted Walls:
For most painted walls, a simple solution of warm water and mild dish soap is usually sufficient. Mix a few drops of dish soap into a bucket of warm water. Avoid harsh chemicals, as they can damage the paint.
2. Wallpapered Walls:
Wallpaper is more delicate. Use a solution of warm water and a tiny amount of mild dish soap. Test it on a hidden area first. Avoid scrubbing aggressively, as this can damage the wallpaper.
3. Walls with Special Finishes (e.g., textured, stucco):
These surfaces require a gentler approach. Again, a warm water and mild soap solution is a good starting point. Use a soft sponge or cloth and avoid harsh scrubbing.
Washing Your Walls: A Step-by-Step Process
Now that you're prepared, let's clean those walls!
-
Pre-Clean: Use a vacuum cleaner with a brush attachment or a broom to remove cobwebs, dust, and loose debris from the walls.
-
Apply Cleaning Solution: Dip your sponge or cloth into the cleaning solution, wring it out well to avoid dripping, and gently wipe a small section of the wall at a time, working from top to bottom.
-
Rinse: Use a clean sponge or cloth dipped in clean water to rinse the area you just cleaned. For glossy surfaces, a squeegee can help prevent streaks.
-
Dry: Allow the wall to air dry completely. You can use a clean, dry cloth to gently buff the surface if needed.
-
Repeat: Continue this process, section by section, until the entire wall is clean.
Tips for Sparkling Clean Walls
- Work in sections: Avoid cleaning the entire wall at once. This prevents the cleaning solution from drying before you can rinse it.
- Don't over-wet the walls: Excessive water can damage walls, especially wallpaper.
- Replace your cleaning solution frequently: As the solution gets dirty, replace it with a fresh batch.
- Address stubborn stains: For stubborn stains, you might need a stronger solution (always test in a hidden area first!), or a specialized cleaning product designed for the type of stain.
By following these steps and choosing the appropriate cleaning solution for your wall type, you can easily achieve sparkling clean walls and a more inviting home. Remember safety first and always test your cleaning solution in an inconspicuous area before applying it to the entire wall.
