

Mastering iPhone 15 Screen Recording: A Comprehensive Guide
The iPhone 15 is here, and it’s packed with amazing features that enhance your mobile experience. One of the most useful, yet often overlooked, capabilities is screen recording. Whether you’re creating tutorials, capturing gameplay, or simply sharing something interesting on your screen with a friend, knowing how to screen record on your iPhone 15 is essential. This comprehensive guide will walk you through everything you need to know, from the basics to advanced tips and troubleshooting.
Why Screen Recording is a Must-Know Feature
In today’s digital age, visual communication is key. Screen recording allows you to:
- Create Tutorials: Easily demonstrate how to use an app or perform a specific task on your iPhone.
- Share Gameplay: Record your gaming sessions and share them with friends or on social media.
- Document Issues: Capture a problem you’re experiencing on your phone to show tech support or friends who can help.
- Save Important Moments: Record a live stream, a video call, or any other content that you want to keep for future reference.
- Educational Purposes: Teachers and students can use it for creating and sharing educational content.
The Basics: How to Start and Stop Screen Recording on iPhone 15
Apple has made screen recording incredibly simple and intuitive. Here’s how to get started:
Step 1: Add Screen Recording to Control Center
Before you can start recording, you need to make sure the screen recording button is in your Control Center. Here’s how:
- Open the Settings app on your iPhone 15.
- Scroll down and tap on Control Center.
- Look for Screen Recording under the “More Controls” section.
- Tap the + (plus) icon next to “Screen Recording” to add it to your Control Center.
Step 2: Start Recording
Now that you’ve added the screen recording button, here’s how to start recording:
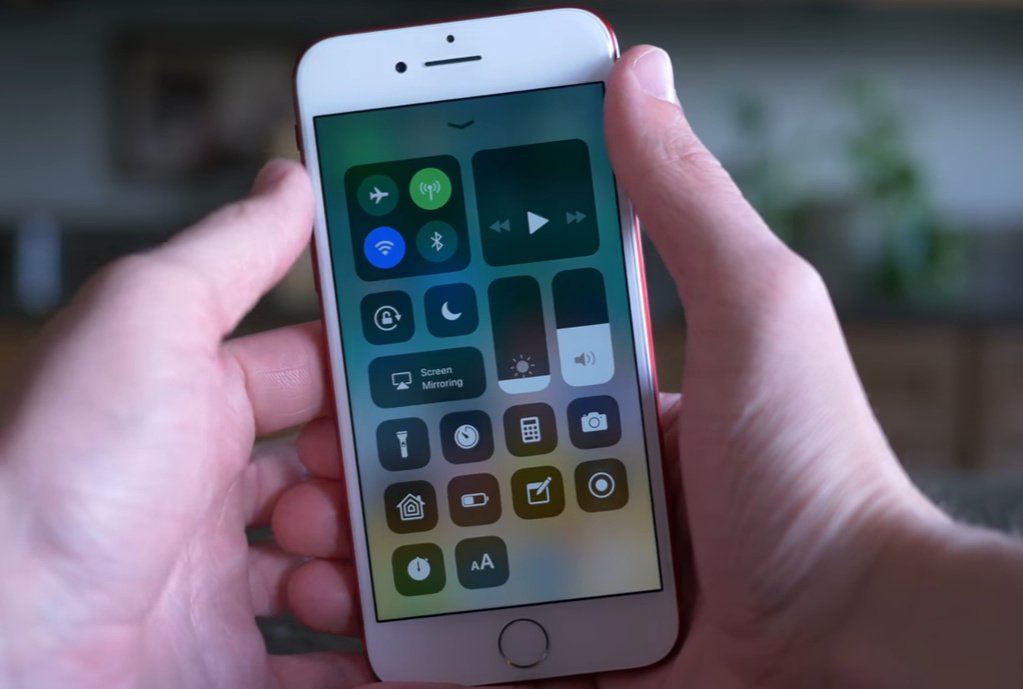
- Open Control Center: Swipe down from the top-right corner of your screen (on iPhones with Face ID) or swipe up from the bottom of the screen (on iPhones with a Home button).
- Tap the Screen Recording Button: It looks like a circle inside another circle.
- Wait for the Countdown: You’ll see a 3-second countdown before the recording starts. This gives you time to get ready.
- Recording Begins: Once the countdown is over, the screen recording will start. A red indicator will appear at the top of your screen (or in the status bar) to let you know that you’re recording.
Step 3: Stop Recording
There are a few ways to stop screen recording:
- Tap the Red Indicator: Tap the red indicator in the status bar at the top of your screen. A prompt will appear asking if you want to stop recording. Tap Stop.
- Open Control Center: Swipe down to open Control Center and tap the Screen Recording button again.
Once you stop recording, a notification will appear letting you know that the screen recording has been saved to your Photos app.
Advanced Tips and Tricks for Screen Recording on iPhone 15
Now that you know the basics, let’s dive into some advanced tips and tricks to enhance your screen recording experience.
1. Recording with Microphone Audio
Sometimes, you’ll want to record your voice along with the screen. Here’s how to enable microphone audio:
- Long Press the Screen Recording Button: Instead of tapping the Screen Recording button in Control Center, press and hold it.
- Microphone Audio Option: A menu will appear with the option to turn Microphone Audio on or off. Tap the Microphone Audio icon to toggle it on (it will turn red).
- Start Recording: Tap Start Recording to begin recording with microphone audio.
This is perfect for creating tutorials where you need to explain what’s happening on the screen.
2. Adjusting Screen Recording Settings
While the iPhone doesn’t offer extensive screen recording settings, you can manage where your recordings are saved. By default, they are saved to the Photos app, but you can also use iCloud Drive or other cloud services for backup.
To manage your storage:
- Go to Settings > Photos.
- Ensure that iCloud Photos is enabled to automatically back up your recordings.
3. Editing Your Screen Recordings
Once you’ve recorded your screen, you can easily edit it right on your iPhone using the Photos app.
- Open the Photos App: Find the screen recording you just captured.
- Tap Edit: Tap the Edit button in the top-right corner.
- Trim the Video: Use the sliders at the beginning and end of the video to trim any unwanted parts.
- Adjust Exposure, Contrast, and More: Use the editing tools to adjust the visual settings of your recording.
- Save Changes: Tap Done to save your changes.
4. Using Third-Party Screen Recording Apps
While the built-in screen recording feature is great, some users may need more advanced options. There are several third-party screen recording apps available on the App Store that offer additional features, such as:
- Higher Resolution Recording: Record in higher resolutions for better video quality.
- Customizable Overlays: Add custom overlays, such as watermarks or logos.
- Advanced Editing Tools: Access more advanced editing tools for fine-tuning your recordings.
- Live Streaming: Stream your screen directly to platforms like Twitch or YouTube.
Some popular screen recording apps include:
- DU Recorder: Offers a wide range of features, including screen recording, video editing, and live streaming.
- Record it!!: Simple and easy to use, with options for adding facecam reactions.
- Go Record: Provides screen recording, facecam recording, and video editing capabilities.
5. Screen Recording for Gaming
For gamers, screen recording is a fantastic way to share your gameplay with the world. Here are some tips for recording your gaming sessions:
- Enable Do Not Disturb: Turn on Do Not Disturb mode to avoid interruptions from notifications.
- Use a Headset: Use a headset with a microphone to ensure clear audio.
- Optimize Game Settings: Adjust the game settings for optimal performance and video quality.
- Plan Your Commentary: If you’re adding commentary, plan what you want to say beforehand to keep your recording engaging.
Troubleshooting Common Screen Recording Issues
Even with a straightforward feature like screen recording, you might encounter some issues. Here are some common problems and how to fix them:
1. Screen Recording Button Missing from Control Center
If you can’t find the Screen Recording button in Control Center, make sure you’ve added it in Settings:
- Go to Settings > Control Center.
- Check if Screen Recording is listed under “Included Controls.” If not, add it from the “More Controls” section.
2. No Audio in Screen Recording
If your screen recording has no audio, make sure you’ve enabled Microphone Audio:
- Long Press the Screen Recording Button: In Control Center, press and hold the Screen Recording button.
- Check Microphone Audio: Ensure that the Microphone Audio icon is turned on (red).
Also, make sure that the app you’re recording isn’t muted and that your microphone is working properly.
3. Screen Recording Stops Unexpectedly
If your screen recording stops unexpectedly, it could be due to a few reasons:
- Low Storage: Make sure you have enough storage space on your iPhone. Screen recordings can take up a lot of space, especially if they’re long.
- App Crash: The app you’re recording might be crashing, causing the screen recording to stop. Try closing and reopening the app.
- System Error: In rare cases, a system error could be causing the issue. Try restarting your iPhone.
4. Poor Video Quality
If your screen recording quality is poor, there are a few things you can try:
- Close Unnecessary Apps: Close any apps running in the background to free up resources.
- Restart Your iPhone: A simple restart can often improve performance.
- Use a Third-Party App: Consider using a third-party screen recording app that offers higher resolution recording options.
Maximizing Your Screen Recording Experience
To get the most out of screen recording on your iPhone 15, consider these additional tips:
- Plan Your Recording: Before you start recording, plan what you want to show and say. This will help you create a more focused and engaging recording.
- Keep It Short and Sweet: Shorter recordings are generally more engaging and easier to share. Try to keep your recordings concise and to the point.
- Use Visual Aids: Use visual aids, such as annotations or overlays, to highlight important information.
- Practice Makes Perfect: Don’t be afraid to practice your screen recording skills. The more you practice, the better you’ll get.
The Future of Screen Recording
As technology evolves, screen recording is likely to become even more integrated into our daily lives. We can expect to see:
- Improved Features: Apple may add more advanced screen recording features in future iOS updates.
- Better Integration: Screen recording may become more tightly integrated with other apps and services.
- AI-Powered Enhancements: AI could be used to automatically enhance screen recordings, such as removing background noise or adding captions.
Conclusion
Screen recording on the iPhone 15 is a powerful tool that can be used for a variety of purposes. Whether you’re creating tutorials, sharing gameplay, or documenting issues, knowing how to screen record is essential. By following this comprehensive guide, you’ll be able to master screen recording on your iPhone 15 and take your mobile experience to the next level. So go ahead, start recording, and unleash your creativity!
