

Introduction: Powering Up Your Design Team with Canva (Without Spending a Dime!)
In today’s fast-paced digital world, collaboration is key. Whether you’re a small business, a non-profit organization, or a group of students working on a project, effective teamwork can make all the difference. And when it comes to design, Canva has emerged as a powerful and user-friendly tool that empowers individuals and teams to create stunning visuals.
But what if you need to collaborate with others on your Canva designs? That’s where creating a team in Canva comes in. The best part? You can do it for free! This article will guide you through the process of setting up a Canva team, exploring the benefits of collaborative design, and providing tips for maximizing your team’s productivity.
Why Create a Team in Canva? The Collaboration Advantage
Before diving into the how-to, let’s explore why creating a team in Canva is a game-changer:
- Seamless Collaboration: Forget sending design files back and forth via email. With a Canva team, everyone can access and edit the same designs in real-time, eliminating version control issues and streamlining the design process.
- Shared Resources: Team members can share templates, brand assets (logos, colors, fonts), and images, ensuring consistency across all designs. This is especially crucial for maintaining a cohesive brand identity.
- Efficient Feedback: Canva’s built-in commenting feature allows team members to provide feedback directly on designs, making it easy to iterate and improve visuals collaboratively. No more confusing email threads or misinterpreted comments.
- Centralized Organization: Keep all your team’s designs organized in one place. No more searching through countless folders or relying on individual team members to keep track of files.
- Increased Productivity: By streamlining the design process and facilitating collaboration, a Canva team can significantly boost your team’s productivity and help you achieve your design goals faster.
- Free for Basic Use: Most importantly, Canva offers a free plan that includes the ability to create teams, making it accessible to everyone, regardless of budget.
Step-by-Step Guide: Creating Your Free Canva Team
Ready to unlock the power of collaborative design? Here’s a detailed guide on how to create a team in Canva for free:
Step 1: Log in to Your Canva Account
If you don’t already have one, create a free Canva account at www.canva.com. The signup process is quick and easy, requiring only your email address or Google/Facebook account.
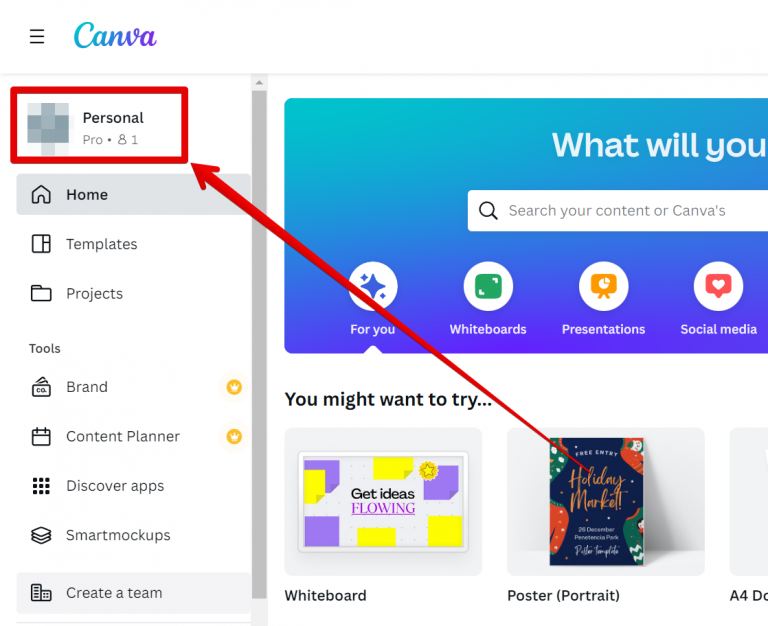
Step 2: Navigate to the “Teams” Section
Once you’re logged in, look for the “Teams” option in the left-hand sidebar of the Canva interface. It’s usually located near the bottom of the menu.
Step 3: Create a New Team
Click on the “Teams” option. You’ll then see a button that says “Create a team”. Click on this button to start the team creation process.
Step 4: Name Your Team
Give your team a descriptive and memorable name. This name will be visible to all team members, so choose something that reflects your team’s purpose or brand. For example, “Marketing Team,” “Social Media Group,” or “Project Phoenix Design Team.”
Step 5: Invite Team Members
This is where you add people to your team. You have two options:
- Invite via Email: Enter the email addresses of the people you want to invite to your team. Canva will send them an invitation email with a link to join.
- Share an Invitation Link: Generate a unique invitation link that you can share with your team members through messaging apps, email, or any other communication channel. When they click on the link, they’ll be prompted to join your team.
Important Note: With the free Canva plan, you can invite a limited number of team members. While the exact number may vary, it’s usually enough for small teams or groups. If you need to add more members, you might consider upgrading to a Canva Pro plan.
Step 6: Assign Roles (Optional)
While the free Canva plan offers limited role management features compared to Canva Pro, you can still differentiate between team members. In the free plan, all members generally have the same level of access and editing permissions. However, communication and clear delegation can help manage responsibilities effectively.
Step 7: Start Collaborating!
Once your team members have joined, you can start collaborating on designs! Create new designs, share existing ones, and leave comments to provide feedback and suggestions.
Maximizing Your Team’s Productivity in Canva: Tips and Tricks
Creating a team is just the first step. Here are some tips to help your team work more effectively in Canva:
1. Establish Clear Design Guidelines
To ensure consistency and maintain brand identity, establish clear design guidelines for your team. This includes specifying:
- Brand Colors: Define the primary and secondary colors that should be used in all designs.
- Fonts: Choose a consistent set of fonts for headings, body text, and other design elements.
- Logo Usage: Provide guidelines on how the logo should be used, including its size, placement, and variations.
- Image Style: Specify the type of images that should be used, such as photography, illustrations, or icons.
Document these guidelines in a shared document or create a Canva template that serves as a visual reference for your team.
2. Utilize Canva’s Templates
Canva offers a vast library of pre-designed templates for various purposes, such as social media posts, presentations, flyers, and more. Encourage your team to leverage these templates as a starting point for their designs. This can save time and ensure a consistent look and feel across all visuals.
3. Create and Share Custom Templates
Take template usage a step further by creating custom templates tailored to your team’s specific needs. For example, you could create a template for social media posts that incorporates your brand colors, fonts, and logo. Sharing these templates with your team will streamline the design process and ensure brand consistency.
4. Organize Your Designs with Folders
Canva allows you to create folders to organize your designs. Use folders to categorize designs by project, client, or type. This will make it easier to find and manage your team’s designs.
5. Use Comments for Feedback and Collaboration
Canva’s commenting feature is a powerful tool for collaboration. Use it to provide feedback on designs, suggest improvements, and discuss design ideas. Be specific and constructive in your comments to help your team create the best possible visuals.
6. Designate a Design Lead
For larger teams, consider designating a design lead who is responsible for overseeing the design process and ensuring that all designs adhere to the established guidelines. The design lead can also provide guidance and support to other team members.
7. Regularly Review and Update Designs
Design trends and brand guidelines evolve over time. Regularly review and update your designs to ensure they remain relevant and aligned with your brand. This includes updating templates, refreshing visuals, and incorporating new design elements.
8. Take Advantage of Canva’s Design Resources
Canva offers a wealth of design resources, including tutorials, blog posts, and design guides. Encourage your team to explore these resources to improve their design skills and stay up-to-date on the latest design trends.
9. Communicate Effectively
Clear and open communication is essential for successful collaboration. Encourage your team to communicate regularly about their design progress, challenges, and ideas. Use communication tools such as Slack, Microsoft Teams, or email to facilitate communication.
10. Embrace Experimentation
Don’t be afraid to experiment with different design ideas and approaches. Canva is a user-friendly platform that makes it easy to try new things. Encourage your team to be creative and innovative in their designs.
Troubleshooting Common Canva Team Issues
While Canva is generally user-friendly, you might encounter some issues when creating or managing your team. Here are some common problems and their solutions:
- Team Member Not Receiving Invitation: Ask the team member to check their spam or junk folder. If the invitation is not there, try resending it. Ensure the email address is correct.
- Team Member Having Trouble Joining: Make sure the team member is using the correct link. If they’re still having trouble, try generating a new invitation link.
- Limited Access to Features: Remember that the free Canva plan has limitations. If you need access to more features, consider upgrading to Canva Pro.
- Design Not Saving: Check your internet connection. Canva requires a stable internet connection to save designs. Also, ensure you are logged in to your account.
- Cannot Find a Shared Design: Ensure the design has been properly shared with the team. Check the folder where the design should be located.
Canva Pro vs. Canva Free: What’s the Difference for Teams?
While you can create a team in Canva for free, upgrading to Canva Pro unlocks a range of additional features that can significantly enhance your team’s collaboration and productivity. Here’s a comparison of Canva Pro and Canva Free for teams:
| Feature | Canva Free | Canva Pro |
|---|---|---|
| Number of Team Members | Limited | Higher Limit (Typically 5+) |
| Brand Kit | Limited (One Brand Kit) | Multiple Brand Kits |
| Custom Templates | Yes | Yes |
| Shared Folders | Yes | Yes |
| Background Remover | No | Yes |
| Magic Resize | Limited | Unlimited |
| Premium Templates & Assets | Limited Access | Full Access |
| Priority Support | No | Yes |
| Team Reporting & Analytics | No | Yes |
| Role-Based Permissions | Limited | Advanced |
Key Takeaways:
- Canva Pro is ideal for larger teams that need to manage multiple brands, require advanced features, and want priority support.
- Canva Free is a great option for small teams or individuals who need basic collaboration features and don’t require advanced functionalities.
Beyond the Basics: Advanced Team Management in Canva Pro (For When You’re Ready to Upgrade)
If you decide to upgrade to Canva Pro, you’ll gain access to a range of advanced team management features that can further streamline your team’s workflow:
- Multiple Brand Kits: Create separate brand kits for different projects or clients. This allows you to easily switch between brands and maintain consistency across all designs.
- Advanced Role-Based Permissions: Assign different roles to team members, such as administrator, designer, or template designer. This allows you to control who has access to specific features and settings.
- Team Reporting & Analytics: Track your team’s design activity, identify areas for improvement, and measure the impact of your designs.
- Priority Support: Get faster and more personalized support from Canva’s support team.
Conclusion: Empowering Your Team with Collaborative Design in Canva
Creating a team in Canva is a simple yet powerful way to unlock the benefits of collaborative design. Whether you’re using the free plan or upgrading to Canva Pro, a Canva team can help you streamline your design process, improve communication, and create stunning visuals that achieve your goals. By following the steps outlined in this article and implementing the tips and tricks for maximizing your team’s productivity, you can empower your team to create amazing designs together.
So, what are you waiting for? Create your free Canva team today and start collaborating on your next design project!
