

Embrace the Cozy: Knitting Leg Warmers for Beginners
As the days grow shorter and the air turns crisp, there’s nothing quite like wrapping yourself in something warm and comforting. And what could be more comforting than a pair of hand-knitted leg warmers? Not only are they incredibly practical for keeping your legs toasty during chilly weather, but they also add a touch of handmade charm to any outfit. If you’re new to knitting, fear not! This comprehensive guide will walk you through the process of knitting your very own leg warmers, step by step. We’ll cover everything from choosing the right yarn to mastering the basic stitches, so you can create a pair of leg warmers you’ll be proud to wear.
Why Knit Leg Warmers? The Benefits Beyond Warmth
Before we dive into the nitty-gritty of knitting, let’s talk about why leg warmers are such a fantastic project, especially for beginners. First and foremost, they’re relatively quick and easy to knit. Unlike larger projects like sweaters or blankets, leg warmers require a smaller amount of yarn and can be completed in a reasonable amount of time. This makes them a great way to practice your knitting skills without feeling overwhelmed.
Beyond their simplicity, leg warmers offer a multitude of benefits:
- Warmth and Comfort: This is the most obvious advantage. Leg warmers provide an extra layer of insulation, keeping your legs warm and cozy in cold weather. They’re perfect for wearing under jeans, skirts, or even with leggings.
- Style and Versatility: Leg warmers can add a unique and stylish touch to any outfit. They come in a variety of colors, patterns, and textures, so you can easily find a pair that complements your personal style.
- Great for Dancers and Athletes: Leg warmers are a staple in the dance world, providing warmth and support for dancers’ muscles. They’re also popular among athletes for keeping their legs warm during warm-ups and cool-downs.
- A Thoughtful Gift: Hand-knitted leg warmers make a thoughtful and personal gift for friends and family. They show that you care and that you put time and effort into creating something special.
- Portable Project: Due to their size, leg warmers are perfect for knitting on the go. You can easily slip your yarn and needles into a bag and knit while commuting, traveling, or waiting for appointments.
Gathering Your Supplies: What You’ll Need
Before you start knitting, you’ll need to gather your supplies. Here’s a list of everything you’ll need:
- Yarn: Choose a soft and comfortable yarn that’s appropriate for leg warmers. Wool, acrylic, or a blend of both are good options. Consider the weight of the yarn as well. Worsted weight yarn is a good choice for beginners, as it’s easy to work with and creates a fabric that’s not too thick or too thin. Approximately 200-300 yards will be sufficient for a pair of leg warmers.
- Knitting Needles: Select a pair of knitting needles that are the appropriate size for your yarn. The yarn label will usually recommend a needle size. For worsted weight yarn, US size 7 (4.5 mm) or 8 (5 mm) needles are typically a good choice. You can use straight needles, circular needles, or double-pointed needles, depending on your preference.
- Scissors: You’ll need a pair of scissors to cut the yarn.
- Tapestry Needle: A tapestry needle is a large-eyed needle used for weaving in the ends of your yarn.
- Measuring Tape: A measuring tape will help you ensure that your leg warmers are the correct length.
- Stitch Markers (Optional): Stitch markers can be helpful for marking the beginning of a round or for keeping track of pattern repeats.
Choosing the Right Yarn: A Deep Dive
Selecting the perfect yarn is crucial for a successful leg warmer project. Here’s a more detailed look at the different types of yarn and their characteristics:
- Wool: Wool is a natural fiber that’s known for its warmth, durability, and elasticity. It’s a great choice for leg warmers, as it will keep your legs warm and comfortable. However, some people may find wool to be itchy, so it’s important to choose a soft and non-irritating wool. Merino wool is a popular choice for its softness and luxurious feel.
- Acrylic: Acrylic is a synthetic fiber that’s affordable, easy to care for, and comes in a wide range of colors. It’s a good option for beginners, as it’s less expensive than wool and can be machine washed and dried. However, acrylic is not as warm or breathable as wool.
- Blends: Yarn blends combine the best qualities of different fibers. For example, a wool-acrylic blend will be warmer than pure acrylic but less expensive than pure wool. A cotton-wool blend will be softer and more breathable than pure wool.
- Yarn Weight: The weight of the yarn refers to its thickness. Worsted weight yarn is a good choice for beginners, as it’s easy to work with and creates a fabric that’s not too thick or too thin. Other common yarn weights include DK (double knitting), sport, and bulky.
- Color and Texture: Consider the color and texture of the yarn when choosing your yarn. Do you want a solid color, a variegated color, or a speckled color? Do you want a smooth yarn, a textured yarn, or a fuzzy yarn? The choice is yours!
Mastering the Basic Stitches: Knit and Purl
The two basic stitches you’ll need to know to knit leg warmers are the knit stitch and the purl stitch. These two stitches are the foundation of most knitting patterns. Let’s learn how to do them:
The Knit Stitch
- Hold the needle with the stitches on it in your left hand and the empty needle in your right hand.
- Insert the right needle into the first stitch on the left needle, going from left to right.
- Wrap the yarn around the right needle, going from back to front.
- Pull the yarn through the stitch with the right needle.
- Slip the stitch off the left needle.
- You’ve just created a knit stitch!
The Purl Stitch
- Hold the needle with the stitches on it in your left hand and the empty needle in your right hand.
- Bring the yarn to the front of your work.
- Insert the right needle into the first stitch on the left needle, going from right to left.
- Wrap the yarn around the right needle, going from back to front.
- Pull the yarn through the stitch with the right needle.
- Slip the stitch off the left needle.
- You’ve just created a purl stitch!
Practice these two stitches until you feel comfortable with them. Once you’ve mastered the knit and purl stitches, you’re ready to start knitting your leg warmers.
Casting On: Getting Started
Casting on is the process of creating the first row of stitches on your needle. There are several different ways to cast on, but the long-tail cast-on is a good choice for beginners, as it’s easy to learn and creates a neat and stretchy edge.
- Make a slip knot and place it on your left needle.
- Hold the left needle in your left hand and the yarn in your right hand.
- Insert the right needle into the slip knot, going from left to right.
- Wrap the yarn around the right needle, going from back to front.
- Pull the yarn through the slip knot with the right needle.
- Slip the stitch off the left needle.
- You’ve just cast on one stitch!
- Repeat steps 3-6 until you have the desired number of stitches on your needle. For leg warmers, you’ll typically cast on between 40 and 60 stitches, depending on the desired width of the leg warmers.
Knitting the Body of the Leg Warmers: Choosing Your Pattern
Once you’ve cast on your stitches, you’re ready to start knitting the body of the leg warmers. There are many different stitch patterns you can use, but here are a few popular choices for beginners:
- Garter Stitch: Garter stitch is created by knitting every row. It’s a simple and easy stitch that creates a stretchy and textured fabric.
- Stockinette Stitch: Stockinette stitch is created by knitting one row and purling the next row. It creates a smooth and flat fabric.
- Rib Stitch: Rib stitch is created by alternating knit and purl stitches. It creates a stretchy and elastic fabric that’s perfect for leg warmers. A common rib stitch pattern is 2×2 rib, which is created by knitting two stitches and then purling two stitches, repeating this pattern across the row.
For this guide, let’s use the 2×2 rib stitch, as it provides a good balance of stretch and warmth.
- Row 1: *Knit 2, purl 2; repeat from * to the end of the row.
- Row 2: *Knit 2, purl 2; repeat from * to the end of the row.
- Repeat rows 1 and 2 until your leg warmer is the desired length. For most adults, a length of 16-20 inches is a good starting point. Feel free to adjust the length to your personal preference.
Binding Off: Finishing the Edge
Binding off is the process of removing the stitches from your needle and creating a finished edge. There are several different ways to bind off, but the basic bind-off is a good choice for beginners.
- Knit two stitches.
- Using the left needle, lift the first stitch over the second stitch and off the needle.
- Knit one stitch.
- Lift the first stitch over the second stitch and off the needle.
- Repeat steps 3 and 4 until you have only one stitch left on your needle.
- Cut the yarn, leaving a tail of about 6 inches.
- Pull the yarn through the last stitch and tighten to secure.
Weaving in the Ends: A Polished Look
Weaving in the ends is an important step in finishing your leg warmers. It ensures that the ends of your yarn are securely tucked away and won’t unravel. Use a tapestry needle to weave the ends of your yarn into the fabric of your leg warmers. Weave the ends along the wrong side of the fabric, following the path of the stitches. Once you’ve woven in the ends, trim off any excess yarn.
Adding Personal Touches: Customizing Your Leg Warmers
Now that you’ve knitted your first pair of leg warmers, you can start experimenting with different patterns, colors, and embellishments. Here are a few ideas to get you started:
- Experiment with different stitch patterns: Try using different ribbing patterns, such as 1×1 rib or 3×3 rib. You can also incorporate other stitch patterns, such as cables, bobbles, or lace.
- Add stripes or colorwork: Use different colors of yarn to create stripes or other colorwork patterns.
- Embellish with buttons, beads, or embroidery: Add buttons, beads, or embroidery to your leg warmers to create a unique and personalized look.
- Add a decorative edge: Crochet a decorative edge around the top and bottom of your leg warmers.
Troubleshooting: Common Knitting Mistakes and How to Fix Them
Even experienced knitters make mistakes from time to time. Here are a few common knitting mistakes and how to fix them:
- Dropped Stitches: A dropped stitch is when a stitch falls off your needle. If you catch the dropped stitch quickly, you can usually pick it up with a crochet hook or your knitting needle. If you don’t catch the dropped stitch right away, it can unravel several rows of knitting. In this case, you’ll need to unravel the knitting back to the dropped stitch and then pick it up.
- Adding Stitches: Adding stitches accidentally can happen when you’re not paying close attention to your knitting. If you notice that you have more stitches on your needle than you started with, you’ll need to decrease the number of stitches to get back to the correct count.
- Loosing Stitches: Loosing stitches occur when you fail to knit a stitch. It shows as a visible hole in your work. If you notice that you have less stitches on your needle than you started with, you’ll need to increase the number of stitches to get back to the correct count.
- Uneven Tension: Uneven tension can cause your knitting to look sloppy or uneven. To improve your tension, try to knit with a consistent amount of pressure on the yarn. You can also try using different needle sizes or different types of yarn.
Caring for Your Hand-Knitted Leg Warmers: Keeping Them Cozy
To keep your hand-knitted leg warmers looking their best, it’s important to care for them properly. Here are a few tips:
- Hand Wash: Hand washing is the best way to clean your hand-knitted leg warmers. Use a mild detergent and lukewarm water. Gently squeeze the leg warmers to remove excess water, and then lay them flat to dry.
- Machine Wash (with caution): Some yarns can be machine washed on a gentle cycle. However, it’s always best to check the yarn label before machine washing your leg warmers. If you do machine wash your leg warmers, use a mesh laundry bag to protect them from damage.
- Do Not Tumble Dry: Tumble drying can cause your hand-knitted leg warmers to shrink or felt. Always lay them flat to dry.
- Store Properly: Store your hand-knitted leg warmers in a cool, dry place. Avoid storing them in direct sunlight, as this can cause the colors to fade.
Beyond the Basics: Exploring Advanced Knitting Techniques
Once you’ve mastered the basics of knitting leg warmers, you can start exploring more advanced knitting techniques. Here are a few ideas:
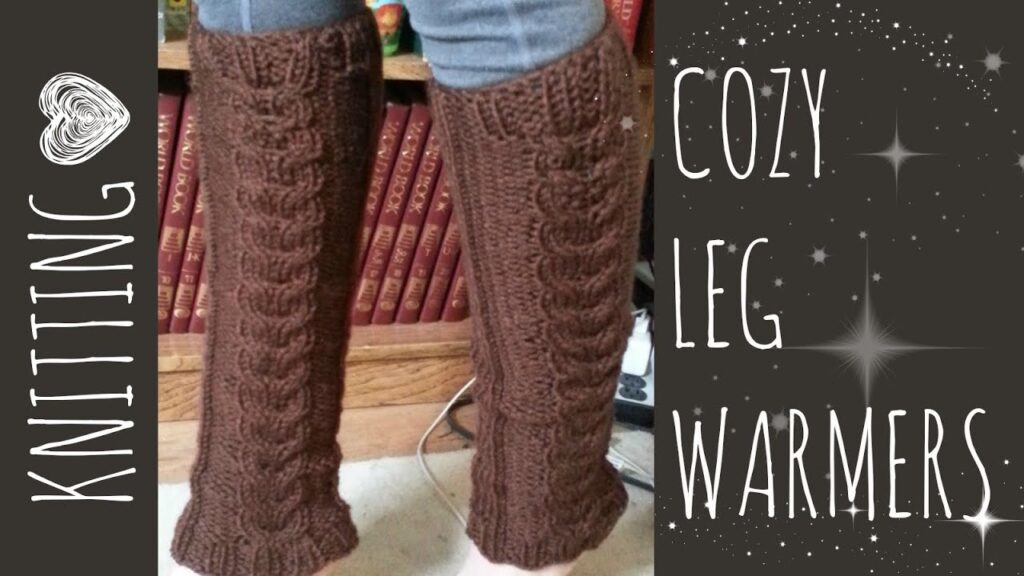
- Cables: Cables create a textured and three-dimensional effect in your knitting. They’re a great way to add visual interest to your leg warmers.
- Lace: Lace knitting creates delicate and airy patterns with holes. It’s a beautiful technique for creating intricate and feminine leg warmers.
- Intarsia: Intarsia is a colorwork technique that allows you to knit large blocks of color without carrying the yarn across the back of your work. It’s a great way to create detailed and colorful designs on your leg warmers.
- Brioche: Brioche knitting creates a thick and squishy fabric with a ribbed texture. It’s a warm and cozy choice for leg warmers.
The Joy of Creating: A Final Thought
Knitting leg warmers is a rewarding and enjoyable craft that can provide you with hours of relaxation and creativity. Not only will you end up with a cozy and stylish accessory, but you’ll also gain a sense of accomplishment and pride in your handmade creation. So, grab your yarn and needles, and start knitting your own pair of leg warmers today! You’ll be amazed at what you can create with just a few simple stitches and a little bit of practice.
Remember to embrace the process, be patient with yourself, and most importantly, have fun! Happy knitting!
