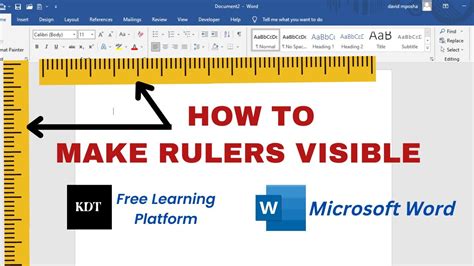
How to Add a Ruler in Microsoft Word: A Step-by-Step Guide
Adding a ruler to your Microsoft Word document can significantly improve your formatting and design process. Whether you need to precisely align images, tables, or text, the ruler provides a visual guide for accurate placement. This guide will walk you through how to display and utilize the ruler in various versions of Word.
Understanding the Word Ruler
The ruler in Microsoft Word is a horizontal and vertical measuring tool located at the top and left side of your document window. It helps you visually determine the position of elements within your document, assisting with tasks like:
- Precise text alignment: Ensuring your text is perfectly aligned with margins or other elements.
- Image placement: Accurately positioning images and other graphics within your document.
- Table formatting: Creating well-structured tables with consistent spacing.
- Indentation control: Easily adjusting paragraph indentation levels.
How to Show or Hide the Ruler in Word
The visibility of the ruler can be toggled on or off depending on your preference. Here's how to do it:
For Word 2007 and later versions:
- Locate the "View" tab: At the top of your Word window, you'll find a ribbon with several tabs. Click on the "View" tab.
- Check the "Ruler" box: In the "Show/Hide" group, you'll see a checkbox labeled "Ruler." Click this box to display or hide the ruler. A checkmark indicates it's visible.
For Older Versions of Word:
The process is largely similar in older Word versions. You may find the "Ruler" option under the "View" menu instead of a ribbon tab.
Customizing Your Ruler
While the ruler is helpful in its default state, you can further customize it for enhanced functionality.
Units of Measurement:
You can change the units of measurement displayed on the ruler (inches, centimeters, etc.). This is usually found within the "View" tab's settings or potentially within the ruler's context menu (right-click the ruler).
Using the Ruler for Indentation:
The ruler allows for precise indentation control. Simply click and drag the indent markers (usually small triangles) located at the left edge of the ruler to adjust the left and right indentation of your paragraphs.
Troubleshooting Ruler Issues:
If you're having trouble seeing the ruler, double-check that it's not accidentally hidden. Also, ensure your view isn't zoomed in to a level that obscures the ruler.
Beyond the Basics: Utilizing the Ruler for Advanced Formatting
The ruler isn't just for basic alignment; it's a powerful tool for precise formatting. Experiment with using the ruler in conjunction with other formatting tools to achieve sophisticated layouts.
Conclusion: Mastering the Word Ruler
The ruler in Microsoft Word is an often overlooked yet invaluable tool. By understanding how to display, customize, and utilize the ruler, you'll significantly improve your document's formatting precision and overall quality. Remember to experiment and learn the nuances of the ruler to unlock its full potential for your document creation needs.
