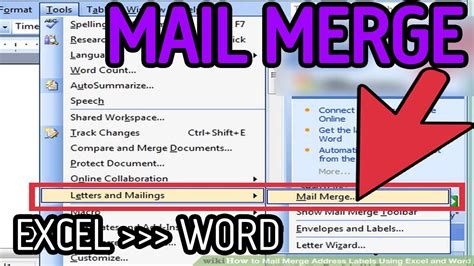
How to Do a Mail Merge from Excel to Word: A Step-by-Step Guide
Mail merge is a powerful tool that lets you create personalized documents from a data source, like an Excel spreadsheet. This guide will walk you through the process of merging data from Excel to Word, saving you time and effort when creating personalized letters, labels, or other documents.
Why Use Mail Merge?
Imagine needing to send personalized thank-you notes to hundreds of clients. Manually typing each name and address would be incredibly time-consuming. Mail merge automates this process, allowing you to create personalized documents efficiently and accurately. It's ideal for:
- Personalized Letters: Create unique letters addressed to individual recipients.
- Labels: Generate mailing labels with pre-filled addresses.
- Envelopes: Print envelopes with accurate recipient information.
- Certificates: Create personalized certificates with individual names and details.
- Email Marketing: (While not directly through Word's mail merge, the data can be used to personalize emails in other applications).
Preparing Your Excel Spreadsheet (Data Source)
Before beginning the merge, ensure your Excel spreadsheet is correctly formatted.
1. Data Organization:
- Columns as Fields: Each column represents a different piece of information (e.g., Name, Address, City).
- Rows as Records: Each row represents a single recipient.
- Consistent Formatting: Maintain consistent data formatting across the entire spreadsheet. Inconsistent formats can lead to merge errors.
- Header Row: The first row should contain clear and concise column headers that accurately reflect the data beneath (e.g., "FirstName," "LastName," not just "FName," "LName").
2. Data Cleaning:
- Accuracy: Verify the accuracy of your data before proceeding. Errors in your spreadsheet will propagate into your merged documents.
- Empty Cells: Handle empty cells carefully. Decide how to address them (leave blank, insert a default value, or remove the entire row).
- Special Characters: Be cautious with special characters, as they might cause issues during the merge process.
Performing the Mail Merge in Word
Now, let's perform the mail merge itself:
1. Start a New Document or Open a Template:
Begin with a blank Word document or a template that you'll personalize. This document will serve as the main template for your merged documents.
2. Initiate the Mail Merge:
- Go to the Mailings tab.
- Click Start Mail Merge, and select the document type (Letters, Emails, Envelopes, Labels, or Cards).
3. Select Recipients:
- Click Select Recipients.
- Choose Use an Existing List.
- Browse to your Excel file and select it.
- Word might prompt you to select the correct worksheet or table.
- Click OK. Word will import your data into the merge process. You can preview and edit your recipient list before proceeding.
4. Insert Merge Fields:
- Place your cursor where you want to insert personalized information.
- Go to the Mailings tab and click Insert Merge Field.
- Select the appropriate field from the list (e.g., FirstName, LastName, Address). The field will appear within your document as a placeholder.
5. Preview and Finalize:
- Click Preview Results on the Mailings tab to see how your merge will look for each recipient.
- Use the navigation arrows to cycle through recipients.
- Make any necessary adjustments to your document.
6. Complete the Merge:
- Click Finish & Merge.
- Select Edit Individual Documents. This opens each document separately, allowing you to make any last-minute modifications. Alternatively, you can select "Print Documents" to directly print the merged documents.
Troubleshooting Common Issues
- Merge Field Errors: Double-check your field names in both Excel and Word for inconsistencies.
- Data Formatting Problems: Ensure your data in Excel is consistently formatted.
- File Location: Make sure you're using the correct file path when selecting your Excel data source.
Conclusion
Mastering mail merge significantly boosts efficiency when creating personalized documents. By following these steps and paying attention to data preparation, you can leverage this powerful tool to streamline your document creation process. Remember to always back up your data before starting a mail merge.
