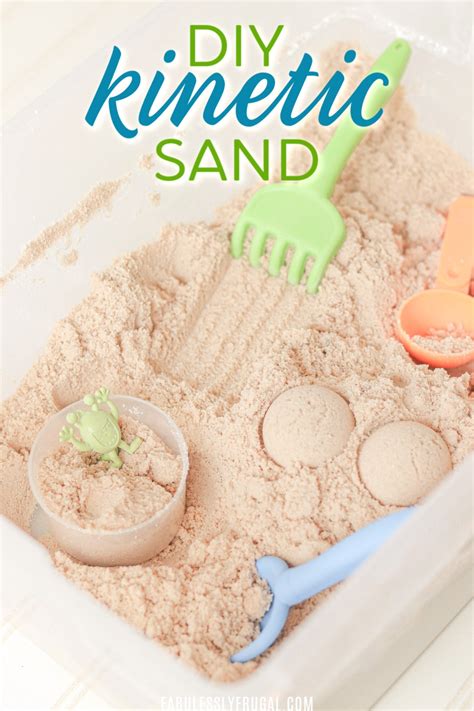
How to Make Kinetic Sand: A Step-by-Step Guide
Kinetic sand is a wonderfully tactile and engaging sensory toy, loved by children and adults alike. But did you know you can make your own at home? This guide provides a simple, step-by-step process for creating your own batch of this magical, moldable sand. We'll explore different recipes and tips to achieve the perfect consistency.
What is Kinetic Sand?
Kinetic sand is a type of play sand that holds its shape remarkably well. Unlike regular sand that crumbles easily, kinetic sand sticks together, allowing for the creation of intricate castles, sculptures, and more. This unique property comes from the addition of a binding agent, typically silicone oil.
Ingredients You'll Need:
- Play Sand: This is the base of your kinetic sand. Choose a fine-grained play sand for the best results. Avoid using sand from beaches or construction sites, as these may contain impurities or harmful substances.
- Silicone Oil: This is the key ingredient that gives kinetic sand its unique properties. You can find silicone oil at craft stores or online. Look for 100% silicone oil, not a silicone-based lubricant.
- Optional: Food Coloring: Add a splash of color to customize your kinetic sand!
Step-by-Step Instructions:
1. Measuring the Ingredients:
The ideal ratio is generally 1 cup of play sand to 1-2 tablespoons of silicone oil. Start with 1 tablespoon and add more gradually until you achieve the desired consistency. It's easier to add more oil than to remove it!
2. Combining the Ingredients:
In a large bowl, add your play sand. Slowly pour in the silicone oil while mixing thoroughly with your hands or a spoon. Be sure to mix completely to ensure even distribution of the silicone oil. If using food coloring, add it at this stage and continue mixing.
3. Achieving the Perfect Consistency:
Keep kneading and mixing the sand until it feels just right. It should hold its shape well but still be slightly pliable. If it's too crumbly, add more silicone oil, a tiny amount at a time. If it's too sticky, add a little more sand. This part requires some experimentation.
4. Testing and Adjustment:
Once you've achieved the desired consistency, test the kinetic sand by squeezing it in your hand. It should clump together easily but still be easily moldable. Make adjustments by adding more oil or sand as needed until you achieve the perfect texture.
5. Storing Your Kinetic Sand:
Store your homemade kinetic sand in an airtight container to prevent it from drying out. This will keep it soft and moldable for longer.
Tips for Success:
- Start small: Begin with a smaller batch to get the hang of the process before making a large quantity.
- Use a bowl: Mixing in a bowl makes it easier to handle and prevents spills.
- Patience is key: Achieving the perfect consistency takes time and patience. Don't rush the mixing process.
- Experiment: Don't be afraid to experiment with different ratios of sand and oil to find your perfect recipe.
- Clean-up: Kinetic sand is generally easy to clean up, but it’s best to make it in an area that's easy to sweep.
Variations and Alternatives:
- Scented Kinetic Sand: Add a few drops of essential oils (like lavender or chamomile) for a fragrant sensory experience. Make sure the essential oils are safe for children if making this for younger kids.
- Glitter Kinetic Sand: Mix in some fine glitter for a sparkly effect.
Making your own kinetic sand is a fun and rewarding project. Enjoy the creative possibilities of this endlessly moldable material! Remember to always supervise young children while they play with kinetic sand.
