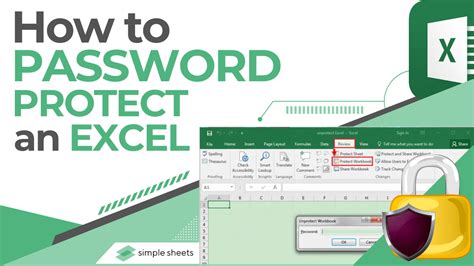
How to Password Protect an Excel File: A Comprehensive Guide
Protecting sensitive data is crucial, and securing your Excel files with passwords is a vital step. This comprehensive guide will walk you through various methods to password-protect your Excel files, ensuring your information remains confidential. We'll cover both protecting the file itself from opening and restricting access to editing its contents.
Protecting an Excel File with a Password (Opening Restriction)
This method prevents unauthorized users from even opening your Excel file. It's the strongest form of protection.
Steps:
- Open your Excel file: Locate and open the Excel workbook you wish to protect.
- Navigate to "File": Click on the "File" tab located in the upper-left corner of the Excel window.
- Select "Info": In the left-hand menu, choose "Info."
- Click "Protect Workbook": You'll find this option under the "Protect Workbook" section.
- Choose "Encrypt with Password": This will open a dialog box prompting you to enter a password.
- Enter and Confirm Password: Type your desired password in both fields. Choose a strong password that's difficult to guess, combining uppercase and lowercase letters, numbers, and symbols.
- Click "OK": Excel will now encrypt your file. Remember your password! There's no way to recover it if forgotten.
Restricting Editing with a Password (Worksheet Protection)
This method allows users to open the file but restricts their ability to edit its contents. This is useful if you want others to view the data but not modify it.
Steps:
- Select the Worksheet(s): Click on the worksheet tab(s) you want to protect. You can protect multiple sheets simultaneously.
- Go to "Review": Locate the "Review" tab in the Excel ribbon.
- Click "Protect Sheet": This will open a dialog box with protection options.
- Customize Protection Settings: You can choose to allow specific actions, like selecting locked cells or formatting cells, while preventing others like deleting rows or columns.
- Enter Password: Input your password and confirm it in the dialog box.
- Click "OK": Your selected worksheet(s) are now protected.
Important Considerations:
- Password Strength: Always use strong, unique passwords. Avoid using easily guessable information like birthdays or names. Password managers can help you generate and manage strong passwords.
- Backup Your File: Regularly back up your protected Excel files to prevent data loss.
- Sharing Safely: Be cautious about sharing password-protected files. Only share them with trusted individuals and ensure they understand the importance of keeping the password confidential.
- File Type: Note that password protection is more effective with the newer .xlsx file format compared to older .xls files.
Frequently Asked Questions (FAQs)
Q: What if I forget my password?
A: Unfortunately, there's no way to recover a forgotten Excel password. This emphasizes the importance of choosing a strong password you can remember and storing it securely.
Q: Can I protect specific parts of a worksheet?
A: Yes, you can protect specific cells or ranges within a worksheet by locking them and then protecting the sheet. You'll need to unprotect the sheet to make further edits to these protected areas.
By following these steps and keeping the important considerations in mind, you can effectively protect your Excel files and maintain the confidentiality of your data. Remember, data security is paramount, so choose your passwords wisely and back up your work regularly.
