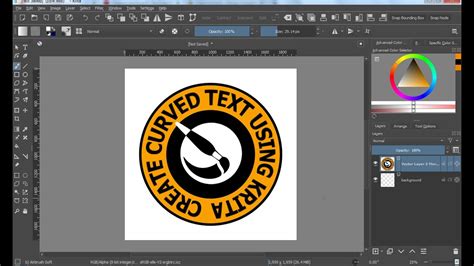
How to Turn a Square Image into a Circular Image in Krita
Want to add a touch of elegance and modernity to your images? Turning a square image into a circular one is a simple yet effective way to achieve a professional and visually appealing look. This guide will walk you through the process using Krita, a powerful and free open-source painting program.
Getting Started: Preparing Your Image in Krita
Before we begin, make sure you have Krita installed and your square image opened within the program. The process is straightforward, but understanding the tools involved will make it much smoother.
1. Selecting the Elliptical Selection Tool:
Locate the Selection Tools in your Krita toolbar. You'll see several selection options; choose the Elliptical Selection Tool. This tool allows you to create a perfect circle selection.
2. Creating Your Perfect Circle:
With the Elliptical Selection Tool active, click and drag on your canvas to create a circle. To ensure a perfect circle, hold down the Shift key while dragging. This will constrain the selection to a perfect 1:1 aspect ratio, creating a clean circle. Make sure the circle encompasses the entire area you want to keep. Adjust the size and position as needed to perfectly frame your image.
Masking for a Clean Circular Image
Now that we have our circle selection, let's use it to create a mask. This will allow us to reveal only the circular portion of our image while hiding the rest.
1. Applying the Layer Mask:
Right-click on your image layer in the Layers Dock. From the context menu, select Add Layer Mask. Choose Selection as the mask source. This automatically masks everything outside your circular selection.
2. Viewing Your Circular Image:
You should now see your square image transformed into a perfectly circular image! Only the portion within the circle will be visible; the rest is neatly hidden.
Refining Your Circular Masterpiece (Optional)
While the above steps create a perfect circle, you can further enhance your image.
1. Adjusting the Mask:
If you need minor adjustments to your mask, you can select the Layer Mask in the Layers Dock and use the selection tools to refine the edges. You can also paint directly on the mask (ensure your foreground color is black to hide areas, white to reveal).
2. Adding a Background:
For a more polished look, add a new layer below your image layer and fill it with a solid color or a gradient background to complement your circular image.
Exporting Your Circular Image
Once you're satisfied with your circular masterpiece, you're ready to export it.
1. Exporting as PNG or JPG:
Go to File > Export As. Choose either PNG (for lossless compression, ideal for images with sharp lines and text) or JPG (for smaller file sizes, best for photos).
Conclusion
Turning a square image into a circular one in Krita is incredibly easy and opens up a world of creative possibilities. This technique is perfect for profile pictures, logos, or any project requiring a clean, circular aesthetic. Remember to experiment with different backgrounds and refine your mask to achieve the perfect look for your project. Happy creating!
