How to Clear Cache in Microsoft Edge: A Step-by-Step Guide
Clearing your cache in Microsoft Edge can resolve various browsing issues, from slow loading speeds to website display problems. This guide provides a comprehensive walkthrough, covering different methods for clearing your cache and ensuring optimal browsing performance.
Why Clear Your Cache?
Before diving into the how-to, let's understand why clearing your cache is beneficial. Your browser stores temporary files – the cache – to speed up website loading. However, outdated or corrupted cached data can lead to:
- Slow loading times: Old files can bog down your browsing experience.
- Website display errors: Websites might not render correctly if they rely on outdated cached versions.
- Login issues: Cached login information can sometimes conflict with current sessions.
- Troubleshooting problems: A clean cache often helps identify and resolve browser-related issues.
How to Clear Your Cache in Microsoft Edge: The Easy Way
This method covers the quickest route to clearing your browsing data, including the cache.
- Open Microsoft Edge: Launch the Microsoft Edge browser on your computer.
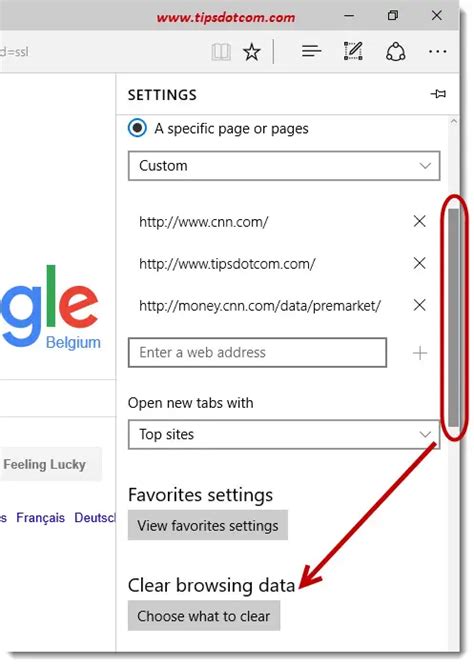
- Access Settings: Click the three horizontal dots (More Actions) in the upper right-hand corner. Select "Settings" from the dropdown menu.
- Navigate to Privacy, search, and services: In the left-hand sidebar, click on "Privacy, search, and services."
- Clear Browsing Data: Locate and click on "Clear browsing data."
- Choose Time Range: Select the desired time range. For a complete cache clear, choose "All time."
- Select Data Types: Ensure "Browsing history," "Cookies and other site data," and "Cached images and files" are checked. You can select other options as needed.
- Clear Data: Click the "Clear now" button.
Clearing Specific Cache Data in Edge
For more granular control, you can selectively clear specific types of cached data:
1. Cookies and Site Data: Clearing only cookies can resolve login issues without completely erasing your browsing history.
2. Cached Images and Files: This option removes only stored images and files, leaving other browsing data intact. Useful for freeing up disk space without losing your browsing history.
3. Browsing History: Clearing browsing history deletes your visited websites but will likely leave cached data intact.
Advanced Cache Clearing Techniques
While the above methods suffice for most users, some scenarios might require more advanced steps:
- InPrivate Browsing: For truly private browsing sessions, use Edge's InPrivate mode. This mode doesn't save browsing history, cookies, or temporary files. It's ideal for sensitive online activities.
- Deleting Edge Profile: As a last resort, if you encounter persistent issues, consider deleting your Edge profile. This is more drastic and requires reinstalling your bookmarks and settings. Only proceed with this option if other methods fail.
Troubleshooting Tips
- Browser Still Slow? If your browser remains slow after clearing the cache, consider other factors like insufficient RAM, a large number of browser extensions, or malware.
- Website Issues Persist? If specific websites continue to malfunction, the issue might not be with your cache. Try checking the website's status or contacting their support team.
By following these steps, you can effectively clear your cache in Microsoft Edge, improving browsing speed and resolving various website-related problems. Remember to choose the method that best suits your needs and always back up important data before performing any drastic actions.
