How to Disable OneDrive: A Complete Guide
OneDrive, while a convenient cloud storage service, might not be for everyone. Perhaps you're concerned about privacy, storage space, or simply prefer alternative cloud solutions. Whatever your reason, disabling OneDrive is a straightforward process, though it differs slightly depending on your operating system. This comprehensive guide will walk you through disabling OneDrive on Windows and macOS, offering tips to manage your files effectively afterward.
Disabling OneDrive on Windows
Disabling OneDrive on Windows involves uninstalling the application and potentially removing the associated folder. Here’s a step-by-step guide:
Step 1: Stop OneDrive Synchronization
Before uninstalling, it's crucial to stop OneDrive's synchronization process. This prevents data loss or corruption during the uninstall.
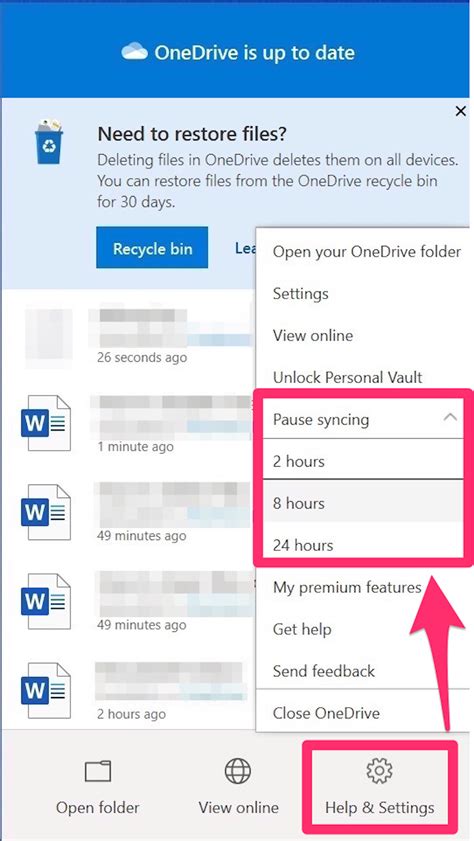
- Right-click the OneDrive cloud icon in your system tray (bottom-right corner).
- Select Settings.
- Go to the Account tab.
- Click Unlink this PC. You'll be prompted to confirm; ensure you've backed up any important files stored only in the OneDrive cloud before proceeding.
Step 2: Uninstall OneDrive
After unlinking, uninstall OneDrive through the Windows settings:
- Open the Settings app (Windows key + I).
- Click on Apps > Apps & features.
- Find OneDrive in the list of installed apps.
- Click on it and select Uninstall. Follow the on-screen prompts to complete the uninstallation.
Step 3: Remove the OneDrive Folder (Optional)
The OneDrive folder will remain on your computer even after uninstallation. You can delete it manually, but be aware this removes the local copies of your files—ensure you've backed up any needed data beforehand.
- Locate your OneDrive folder (usually
C:\Users\[YourUsername]\OneDrive). - Right-click the folder and select Delete.
Disabling OneDrive on macOS
Disabling OneDrive on macOS follows a similar process, but the interface is different.
Step 1: Stop OneDrive Synchronization
Similar to Windows, stopping synchronization is crucial before proceeding.
- Click the OneDrive cloud icon in your menu bar.
- Select Preferences.
- Click Account.
- Click Unlink this Mac. Again, confirm your action and ensure your important files are backed up.
Step 2: Uninstall OneDrive (macOS)
Uninstalling on macOS is straightforward:
- Locate the OneDrive application in your Applications folder.
- Drag the OneDrive application to the Trash.
- Empty the Trash to fully remove the application.
Step 3: Remove the OneDrive Folder (Optional)
As with Windows, the OneDrive folder will remain after uninstallation. Deleting it removes local copies of your files; backup your data first if needed.
- Locate your OneDrive folder (usually
/Users/[YourUsername]/OneDrive). - Drag the OneDrive folder to the Trash.
- Empty the Trash.
Managing Your Files After Disabling OneDrive
After disabling OneDrive, consider alternative cloud storage solutions or local file management strategies. External hard drives, network-attached storage (NAS), or other cloud services (Google Drive, Dropbox, etc.) can provide suitable alternatives. Remember to regularly back up your important data to prevent loss.
Keywords for SEO Optimization:
- disable onedrive
- uninstall onedrive
- remove onedrive
- onedrive removal
- onedrive unlink
- onedrive windows
- onedrive mac
- onedrive uninstall windows 10
- onedrive uninstall windows 11
- onedrive uninstall mac
This guide provides a comprehensive approach to disabling OneDrive, optimizing it for relevant search terms. Remember to adapt and expand this with your own experiences and suggestions to personalize it further.
