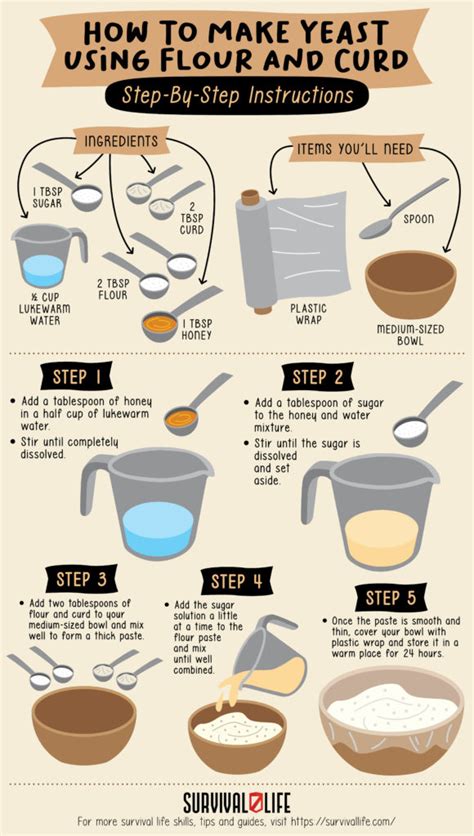
How To Make Yeast: A Beginner's Guide to Homemade Yeast
Making your own yeast might sound daunting, but it's a surprisingly achievable process that connects you directly to the heart of baking. This guide will walk you through the steps, demystifying the process and empowering you to create your own leaven. Note: While you can make yeast at home, it's a significantly more involved process than simply buying commercially produced yeast, and consistency can be challenging.
Understanding Yeast: The Basics
Before diving into the process, let's understand what yeast is. Yeast is a single-celled fungus that converts sugars into carbon dioxide and alcohol through fermentation. This process is what makes bread rise and gives it that characteristic flavor. There are many different strains of yeast, each with unique properties. While this guide outlines a method for creating a wild yeast starter, it's crucial to understand that achieving consistent results requires patience and attention to detail.
What You'll Need:
- Flour: Unbleached all-purpose flour or bread flour works best. Avoid bleached flour, as it may contain additives that hinder yeast growth.
- Water: Filtered or spring water is recommended to avoid chlorine or other chemicals that can inhibit yeast.
- Clean Container: A clean glass jar is ideal. Sterility is crucial to prevent unwanted bacteria or mold from competing with your yeast.
- Patience: This is a multi-day process requiring observation and consistency.
Step-by-Step Guide to Making Wild Yeast
This method leverages naturally occurring yeasts present in the air and on flour.
Day 1: Initial Mixture
- Combine Ingredients: In your clean jar, mix 50 grams of flour with 50 grams of water. Stir thoroughly until a smooth, slightly thick paste forms. Think pancake batter consistency.
- Cover Loosely: Cover the jar with a clean cloth or coffee filter secured with a rubber band. This allows air circulation while preventing contamination.
- Let It Sit: Place the jar in a warm place (around 70-75°F or 21-24°C) and leave it undisturbed.
Days 2-7: Observing and Feeding
- Daily Observation: Check the mixture daily. You should start to see some activity, potentially bubbles or a slightly sour smell, indicating yeast is growing. If you see mold (fuzzy growth of a different color), discard the mixture and start again.
- Feeding the Starter: If you see signs of activity (bubbles), it's time to feed your starter. Discard about half of the mixture, then add another 50 grams of flour and 50 grams of water. Stir well to combine.
- Continue Feeding: Repeat the feeding process daily for several days. The frequency of feeding may depend on the activity you observe. A more active starter will require more frequent feeding.
Determining Readiness
Your wild yeast starter is ready when it consistently doubles in size within 4-6 hours after feeding. It should also have a pleasant, slightly sour aroma. If it smells off (rotten or unpleasant), discard it and start again.
Maintaining Your Wild Yeast Starter
Once your starter is active and consistent, you'll need to maintain it. This usually involves feeding it every 1-2 days to keep it alive and active. You can refrigerate your starter to slow down its activity when not in use.
Using Your Homemade Yeast
Your homemade yeast can be used in recipes like bread, sourdough, and other fermented foods. Remember that it will likely be less active than commercially available yeast, so you may need to adjust your baking times accordingly.
Troubleshooting and Tips
- No Activity: If you see no activity after several days, try a different flour or water source. Room temperature is also critical.
- Mold: Discard any starter showing mold growth. Ensure your container and utensils are clean.
- Consistency: Creating consistent wild yeast takes practice. Don't be discouraged if your first attempt isn't perfect.
Making your own yeast is a rewarding journey. Embrace the learning process, and enjoy the satisfaction of creating something from scratch!
