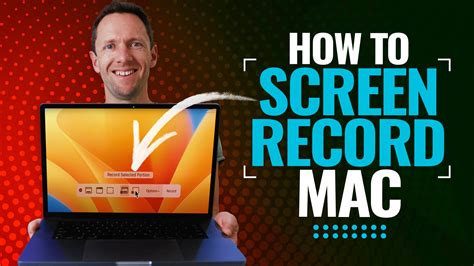
How to Record Your Screen on a Mac: A Comprehensive Guide
Recording your Mac's screen is easier than you think! Whether you're creating a tutorial, capturing gameplay, or recording a presentation, macOS offers built-in tools and third-party options to suit your needs. This guide will walk you through various methods, helping you choose the best approach for your specific requirements.
Using QuickTime Player: The Built-in Solution
For simple screen recordings, macOS's QuickTime Player is a fantastic, readily available option. No downloads or installations are necessary!
Step-by-Step Guide:
- Open QuickTime Player: Locate QuickTime Player in your Applications folder.
- Start a New Recording: Go to
File > New Movie Recording. - Select Your Input: Click the dropdown arrow next to the record button. This allows you to choose your microphone (for audio recording) and select the desired screen area. You can choose to record the entire screen, a single window, or a custom selection.
- Begin Recording: Click the record button (the red circle).
- Stop Recording: Once finished, click the stop button in the menu bar or press Command-Control-Esc.
- Save Your Recording: Go to
File > Saveto save your recording as a .mov file. You can then choose the location and name for your file.
Leveraging Screenshot Functionality: Quick Snapshots
For quick screen recordings, macOS also provides a built-in screenshot function that can capture video. This is ideal for short clips.
Step-by-Step Guide:
- Press the Shortcut: Simultaneously press
Shift+Command+5. A toolbar will appear at the bottom of your screen. - Select Recording Options: You can select from various options, including recording the entire screen, a selected portion, or a specific window.
- Start and Stop Recording: Choose your option and click the record button. The recording will begin immediately. Click the stop button or press
Escto end the recording. - Save or Share: Your recording will automatically be saved to your desktop.
Exploring Third-Party Screen Recorders: Advanced Features
While QuickTime and the built-in screenshot tool are great for basic needs, third-party applications offer more advanced features like editing capabilities, annotations, and higher-quality recordings. Some popular options include (but are not limited to) OBS Studio, Loom, and Screenflow. These applications often provide free versions with limitations or paid versions with full functionality. Research different options to find the best fit for your specific requirements and budget.
Optimizing Your Screen Recordings for Best Results
Regardless of the method used, consider these tips for optimal results:
- Clean Desktop: A clutter-free desktop makes for a cleaner recording.
- Good Lighting: Ensure proper lighting for clear visuals.
- High-Quality Microphone: Invest in a good microphone for clear audio if you're recording narration or sound.
- Testing: Always test your settings before starting a critical recording.
Conclusion
Recording your Mac's screen is a versatile skill with applications across various fields. Whether you choose the simplicity of QuickTime or the advanced features of third-party software, mastering screen recording opens up new possibilities for content creation, communication, and problem-solving. Experiment with different methods to find what works best for you!
